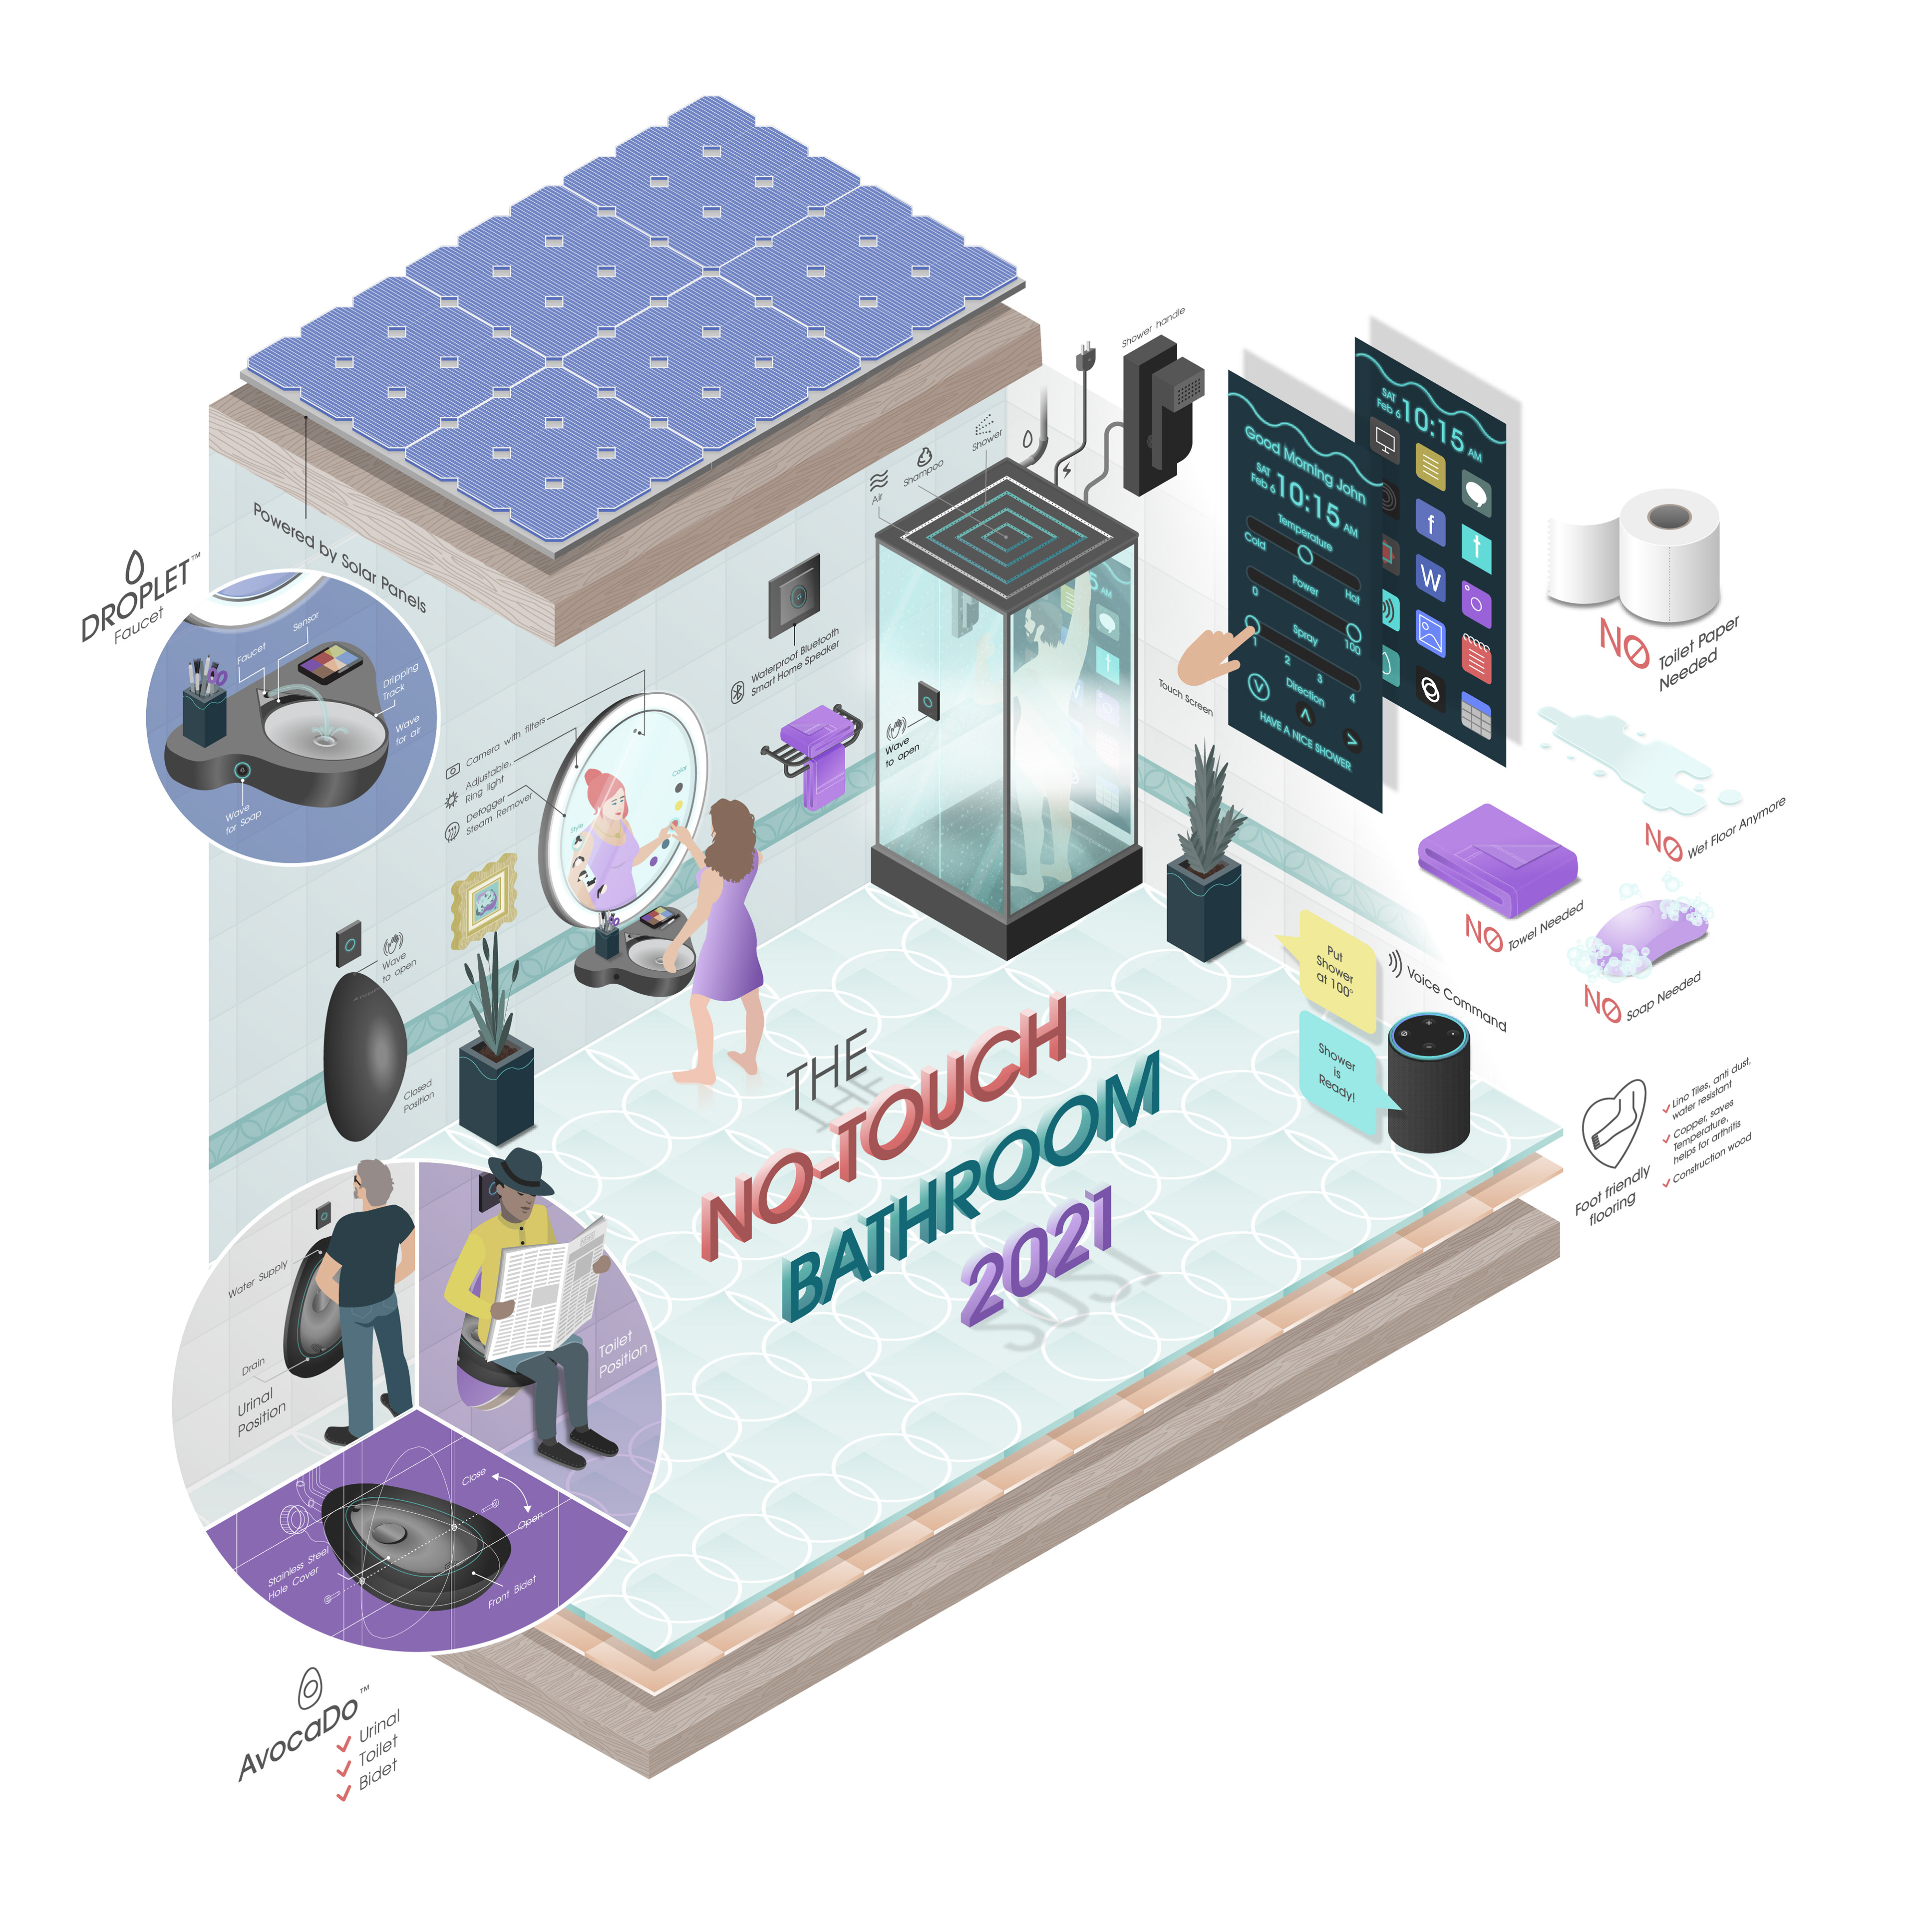
The No-Touch Bathroom (Product Design)
Client: Liberty University, Professor: Brianna O'Neal
Master of Visual Communication Design
Work: A to Z, Concept, Research, Sketch, Product Design, UI & UX, Character Design, Interior Design, 3D Isometric Vector Illustration, Presentation
Year: 2021
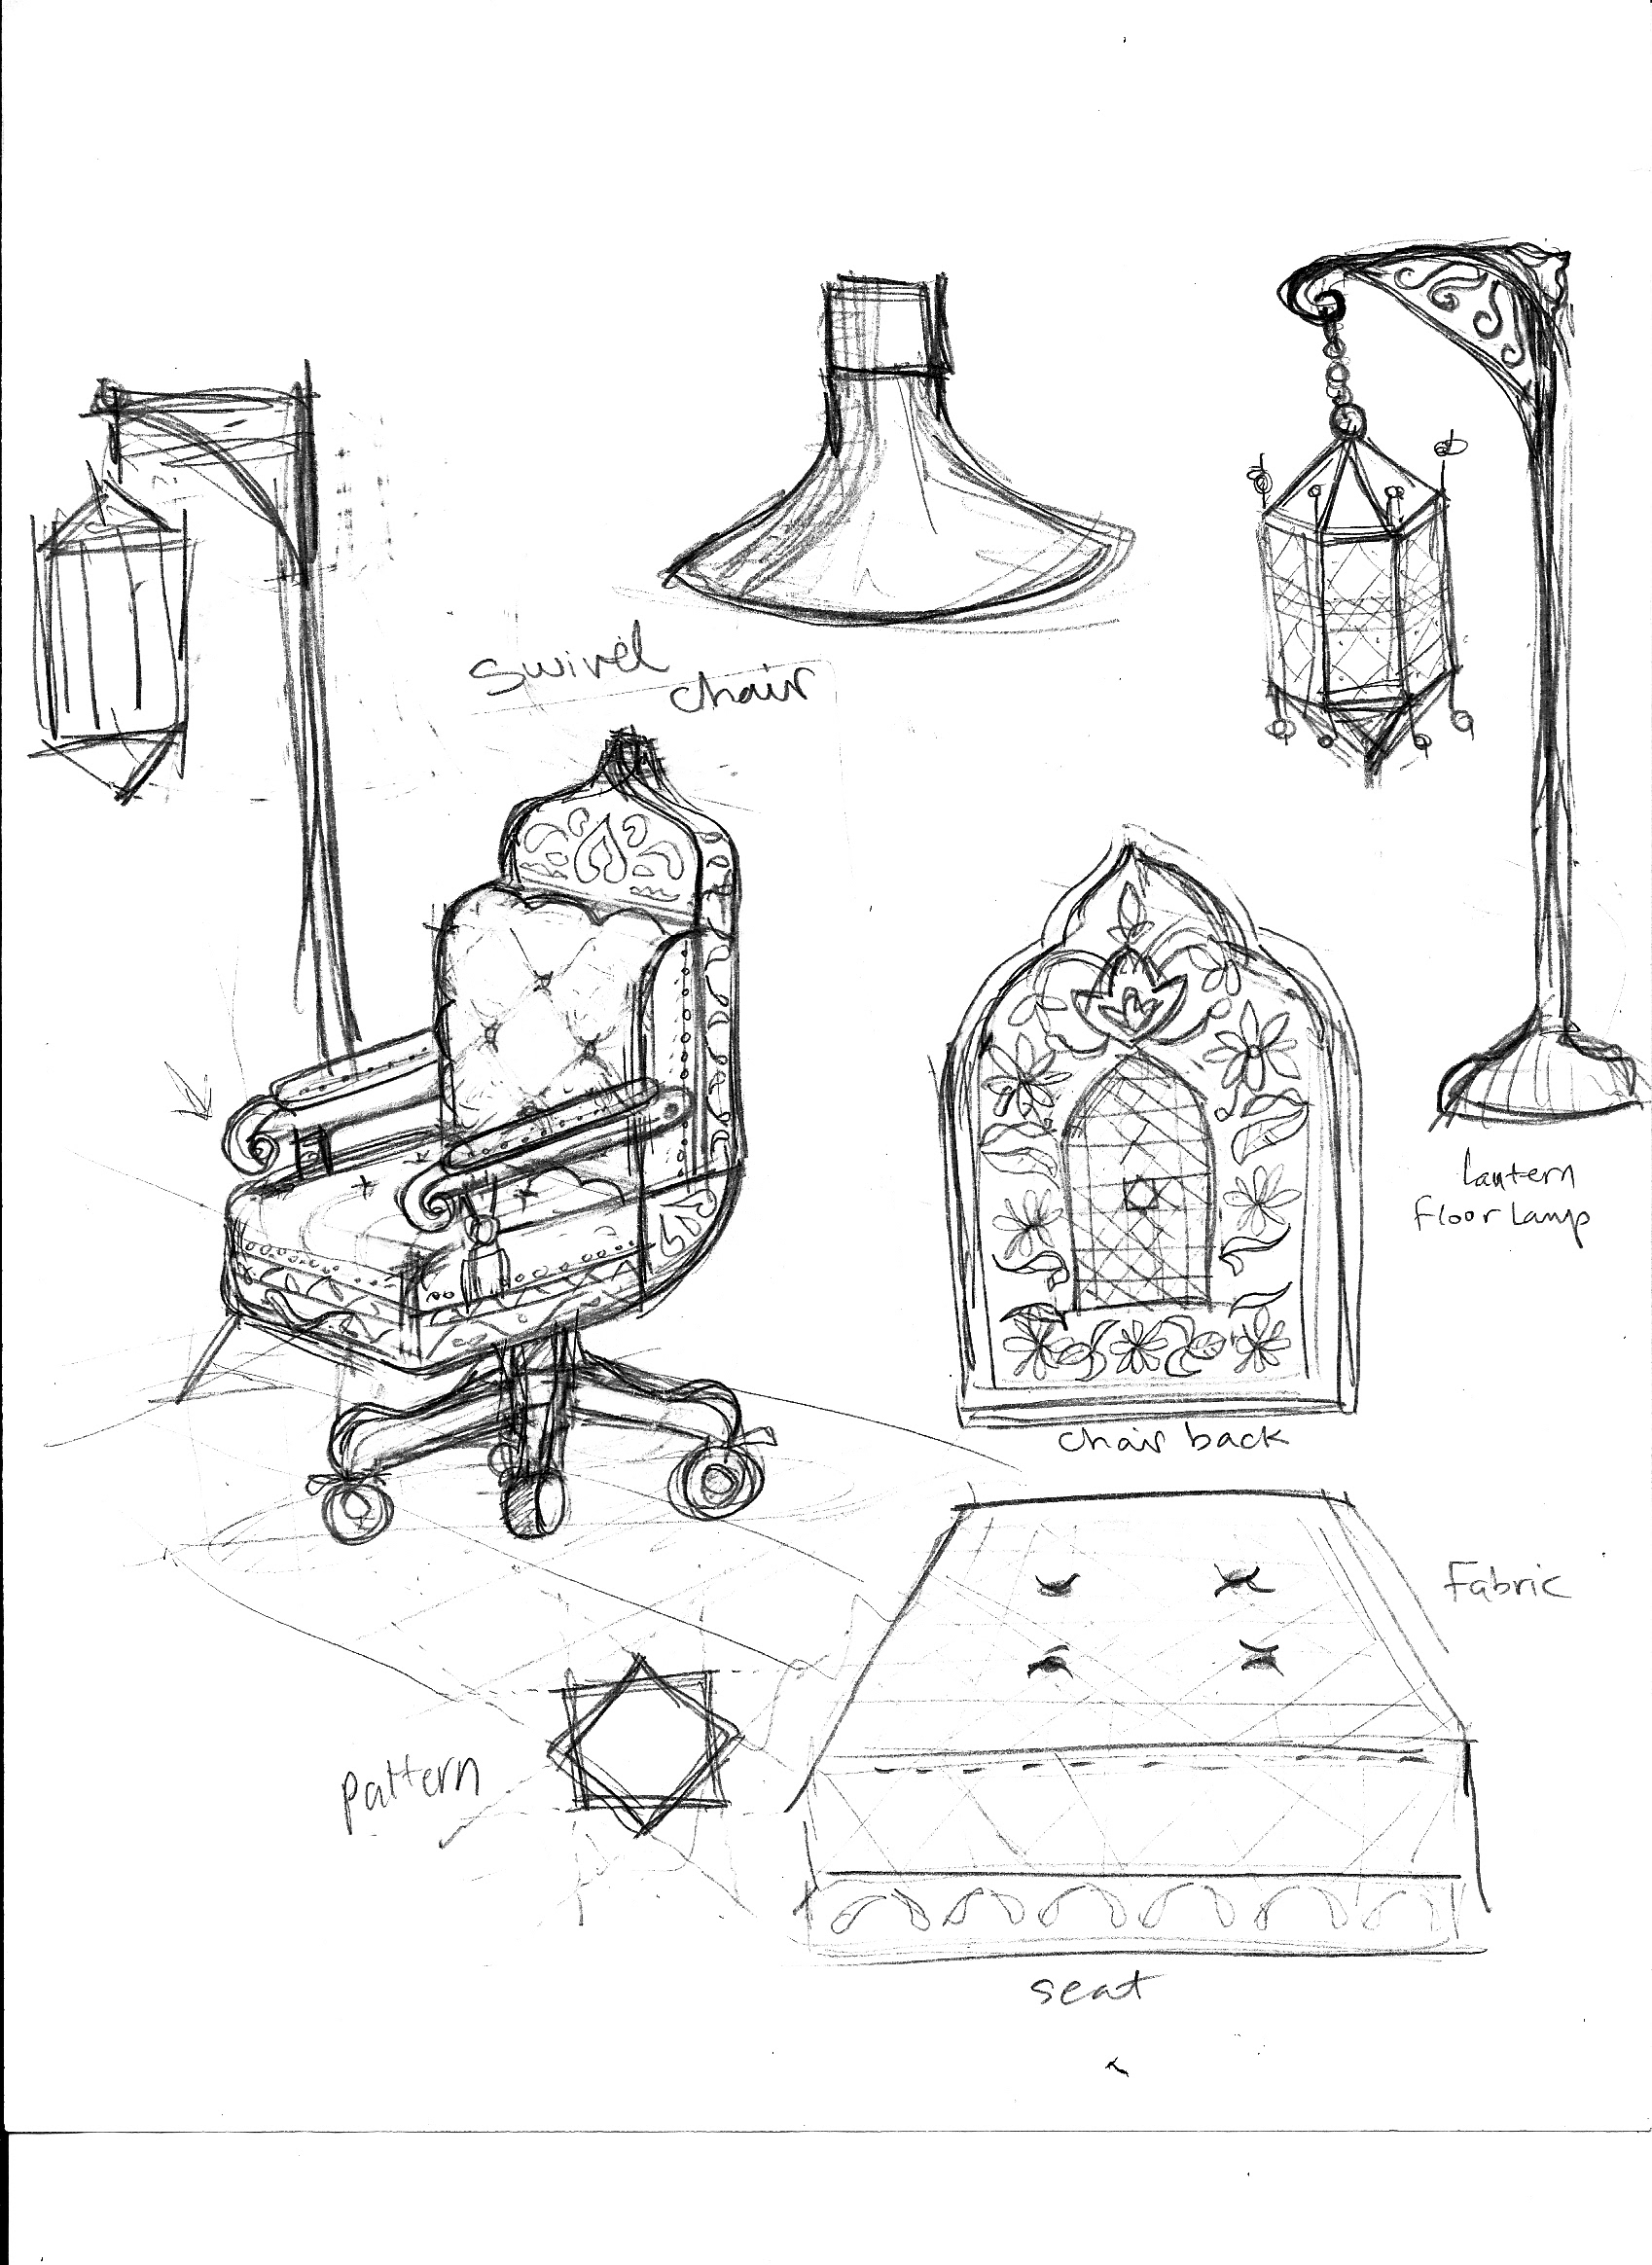
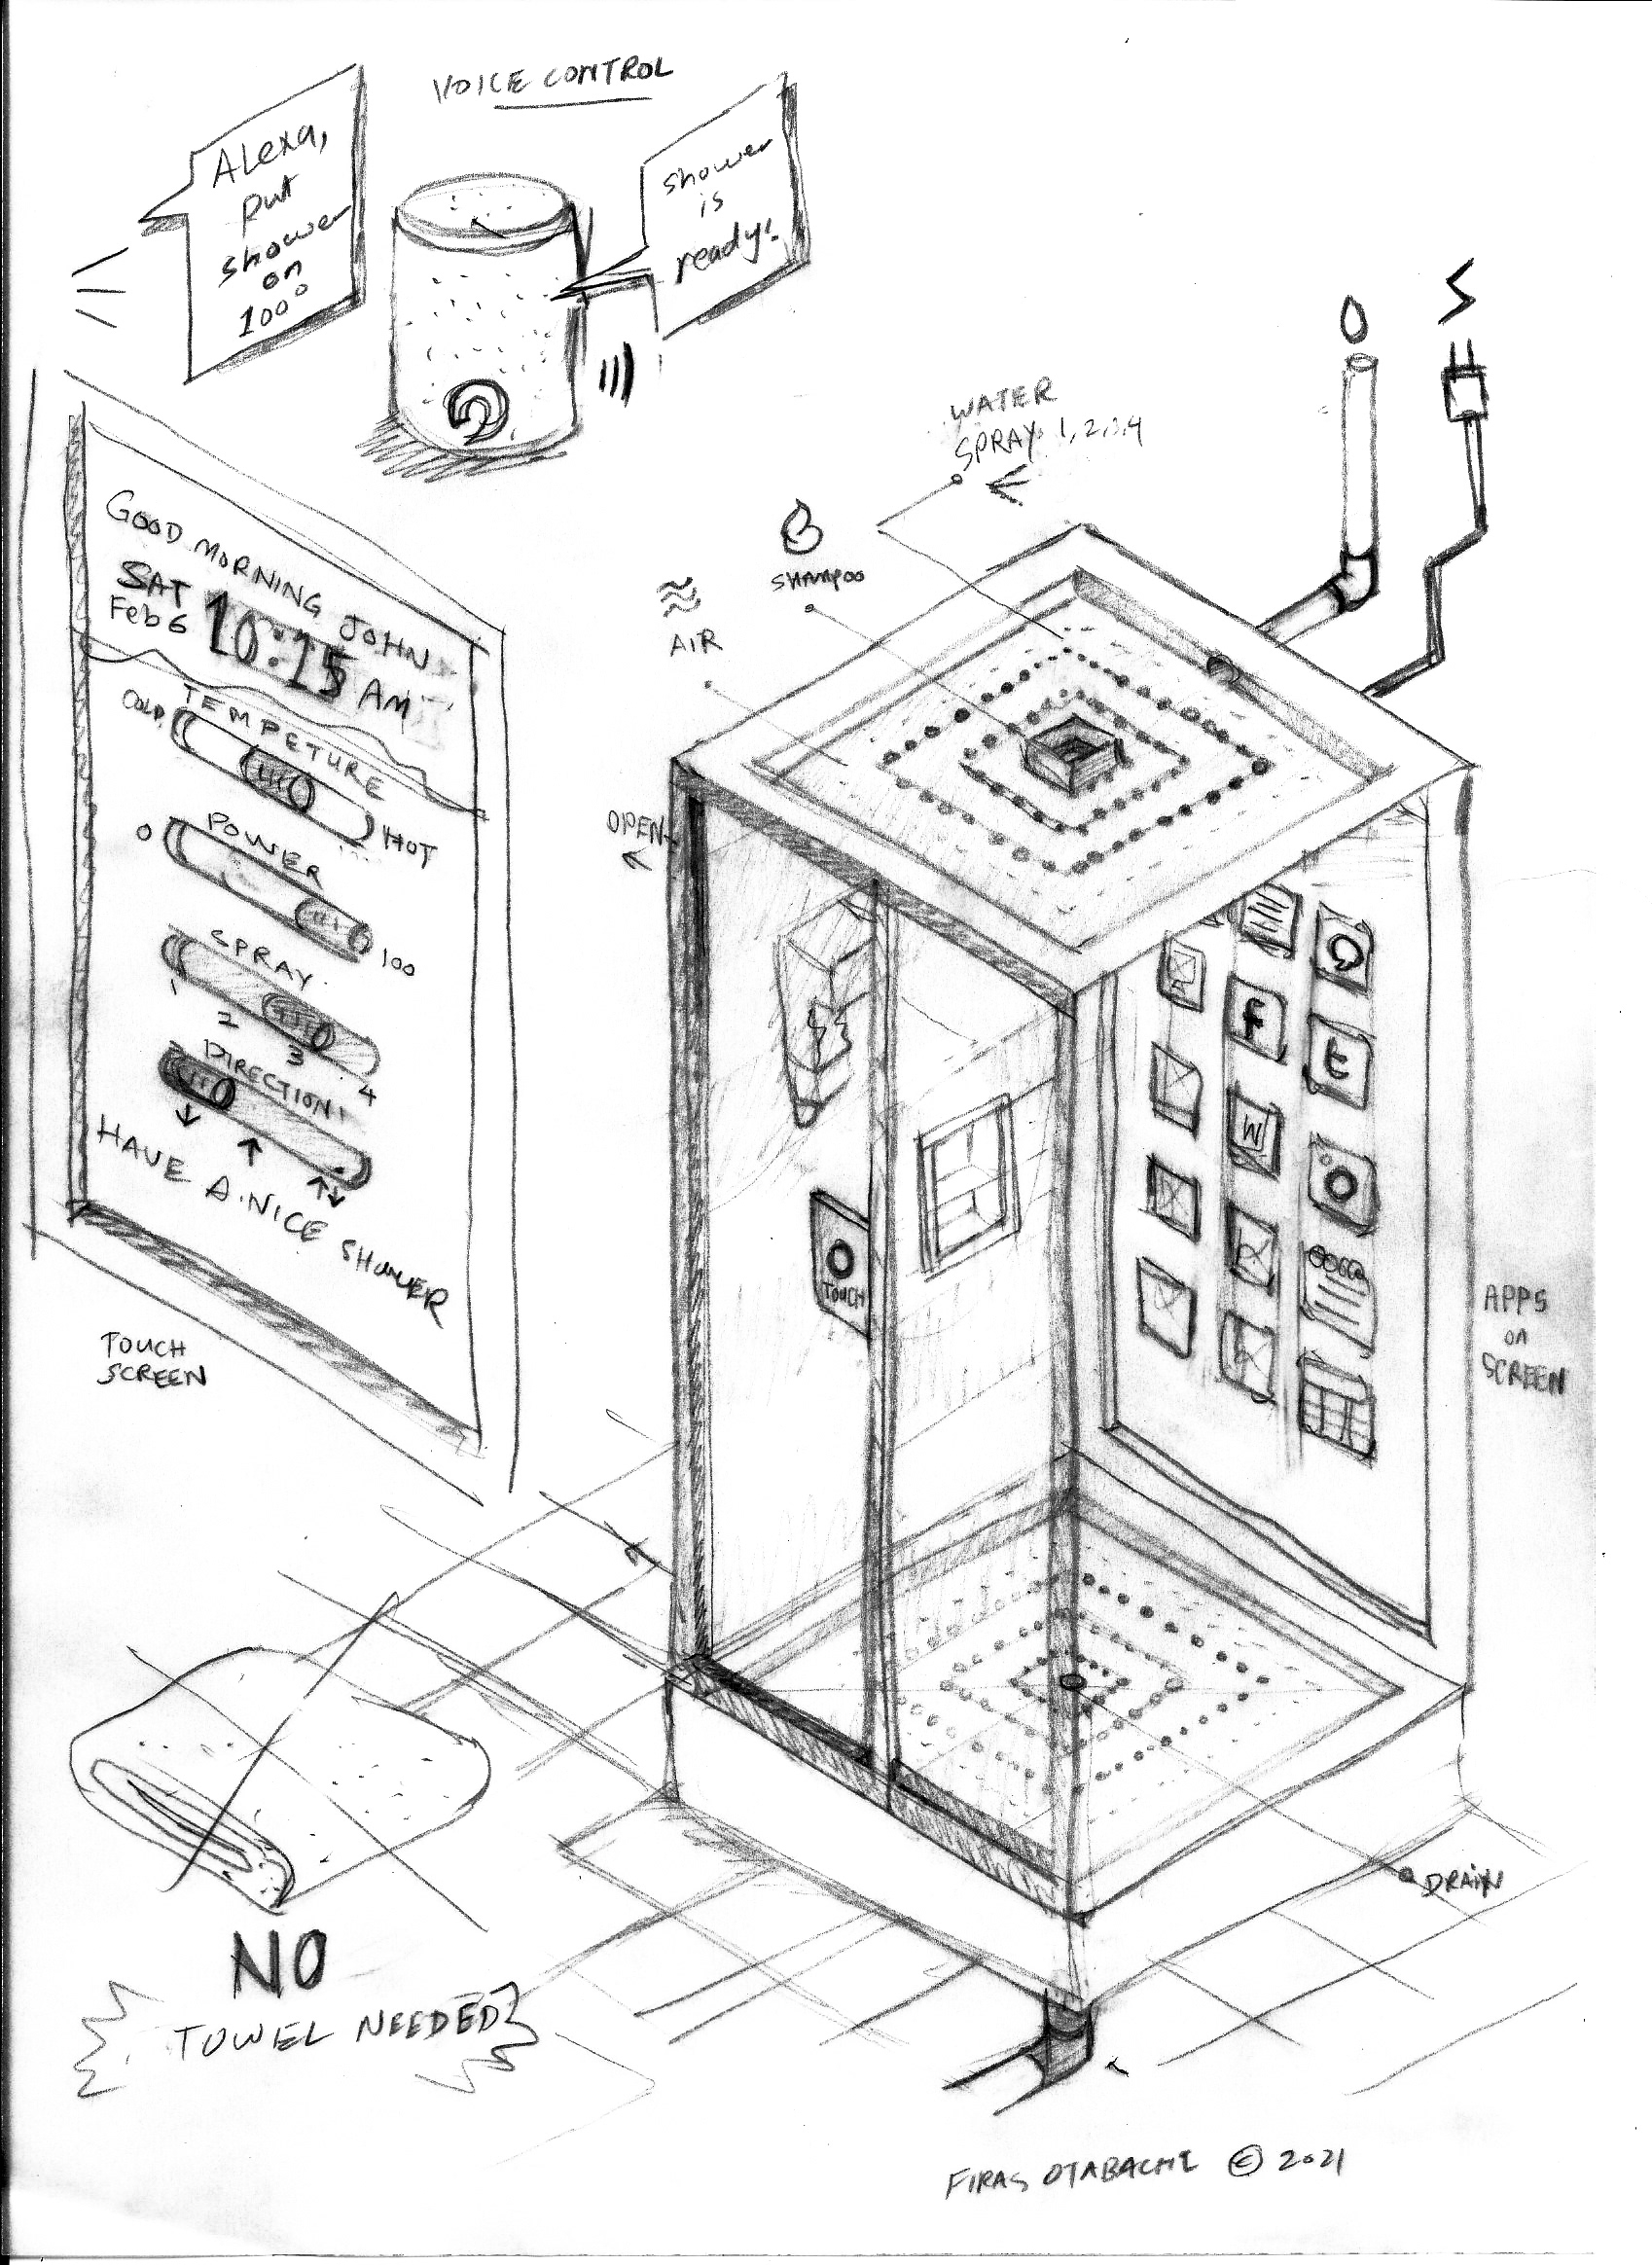
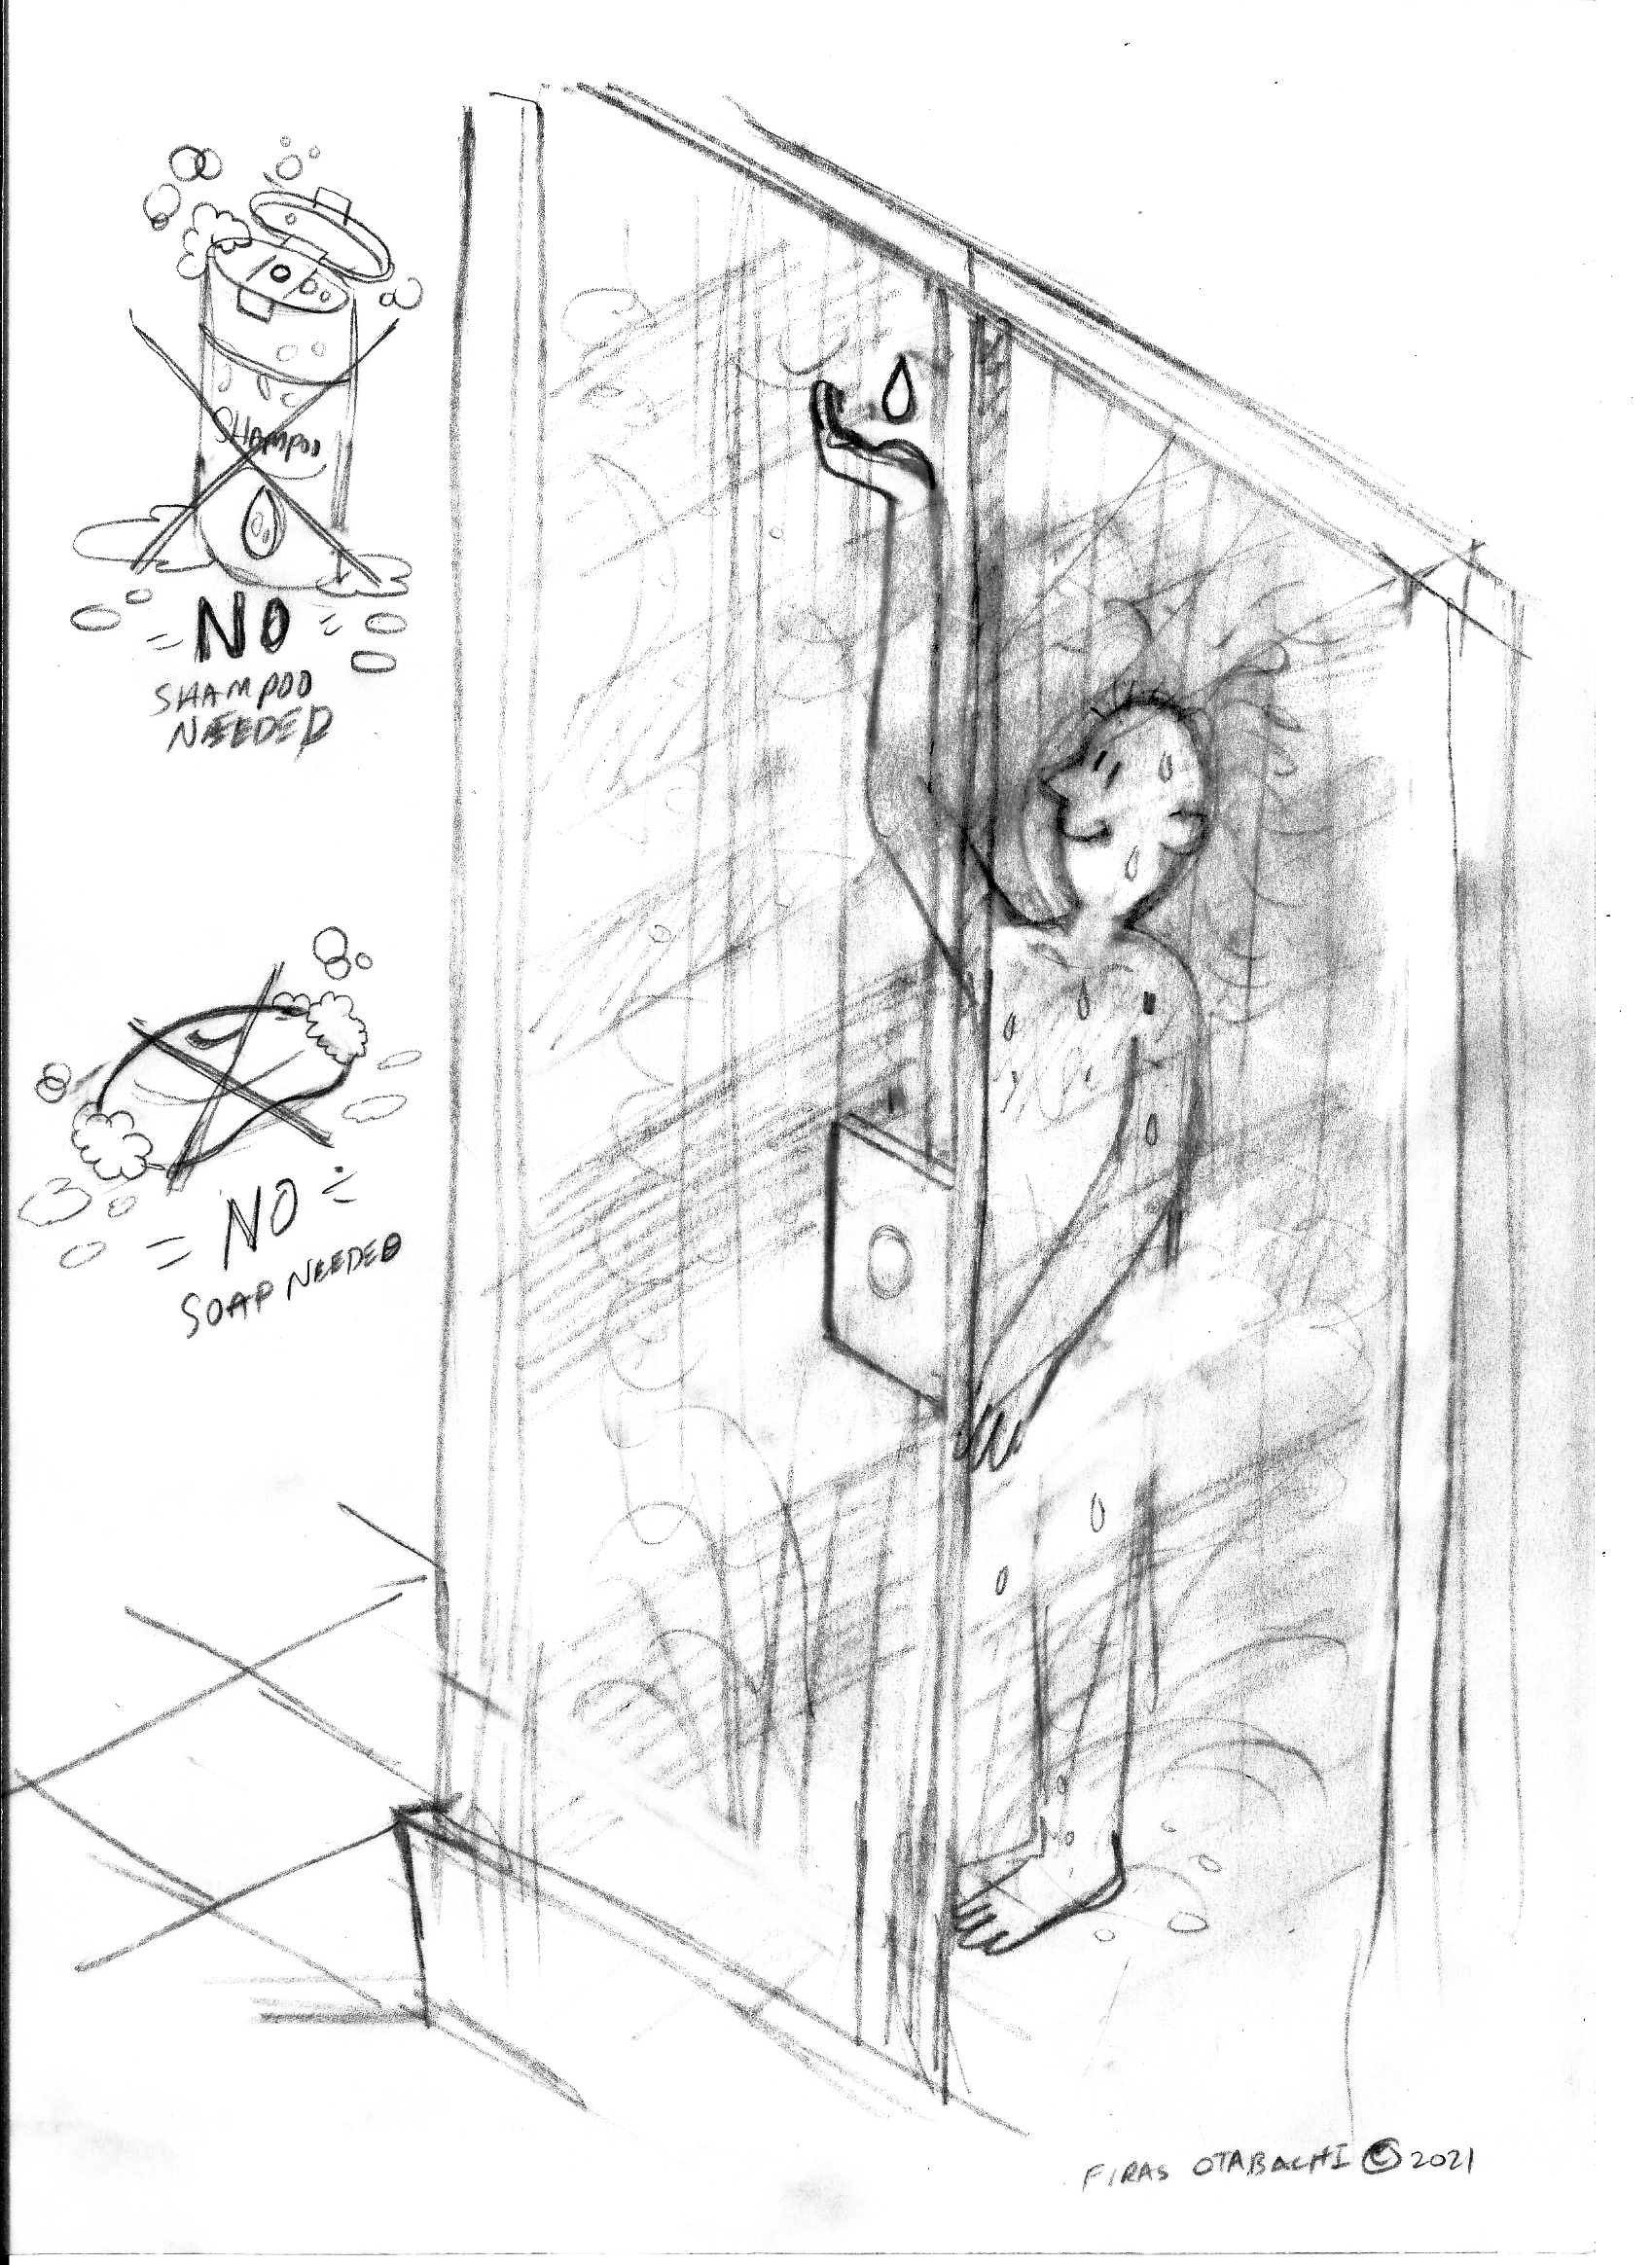
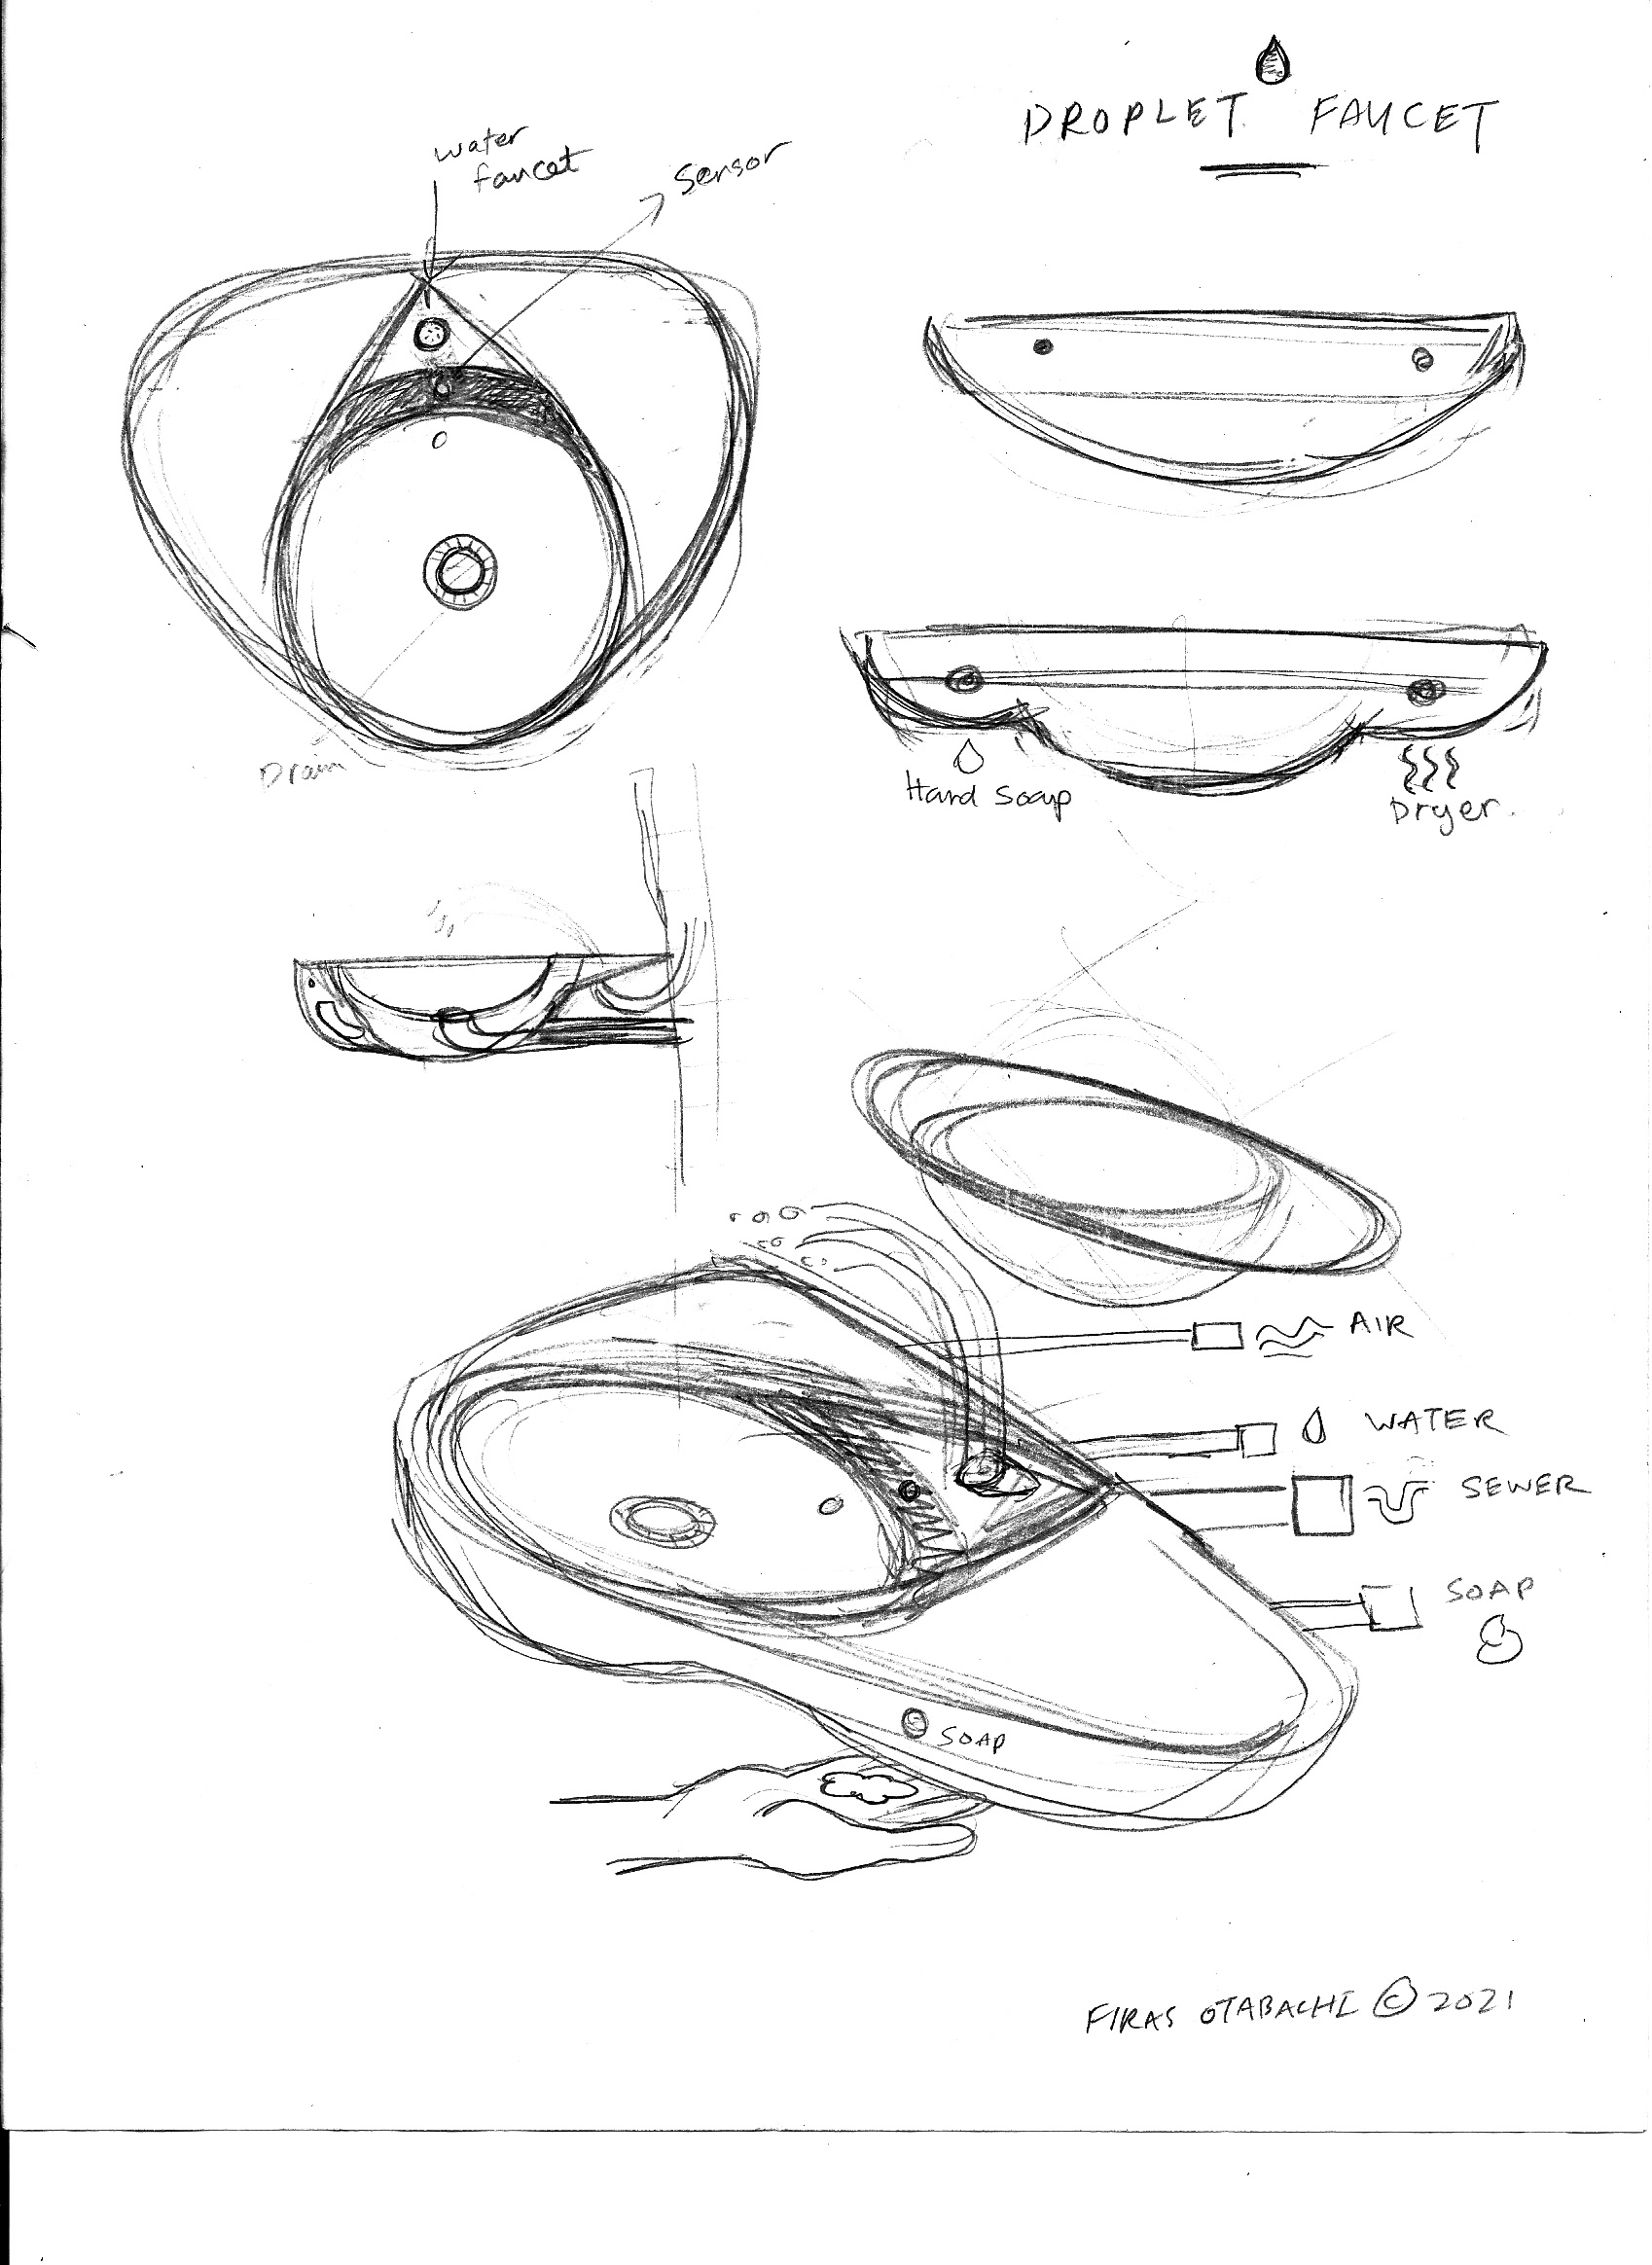
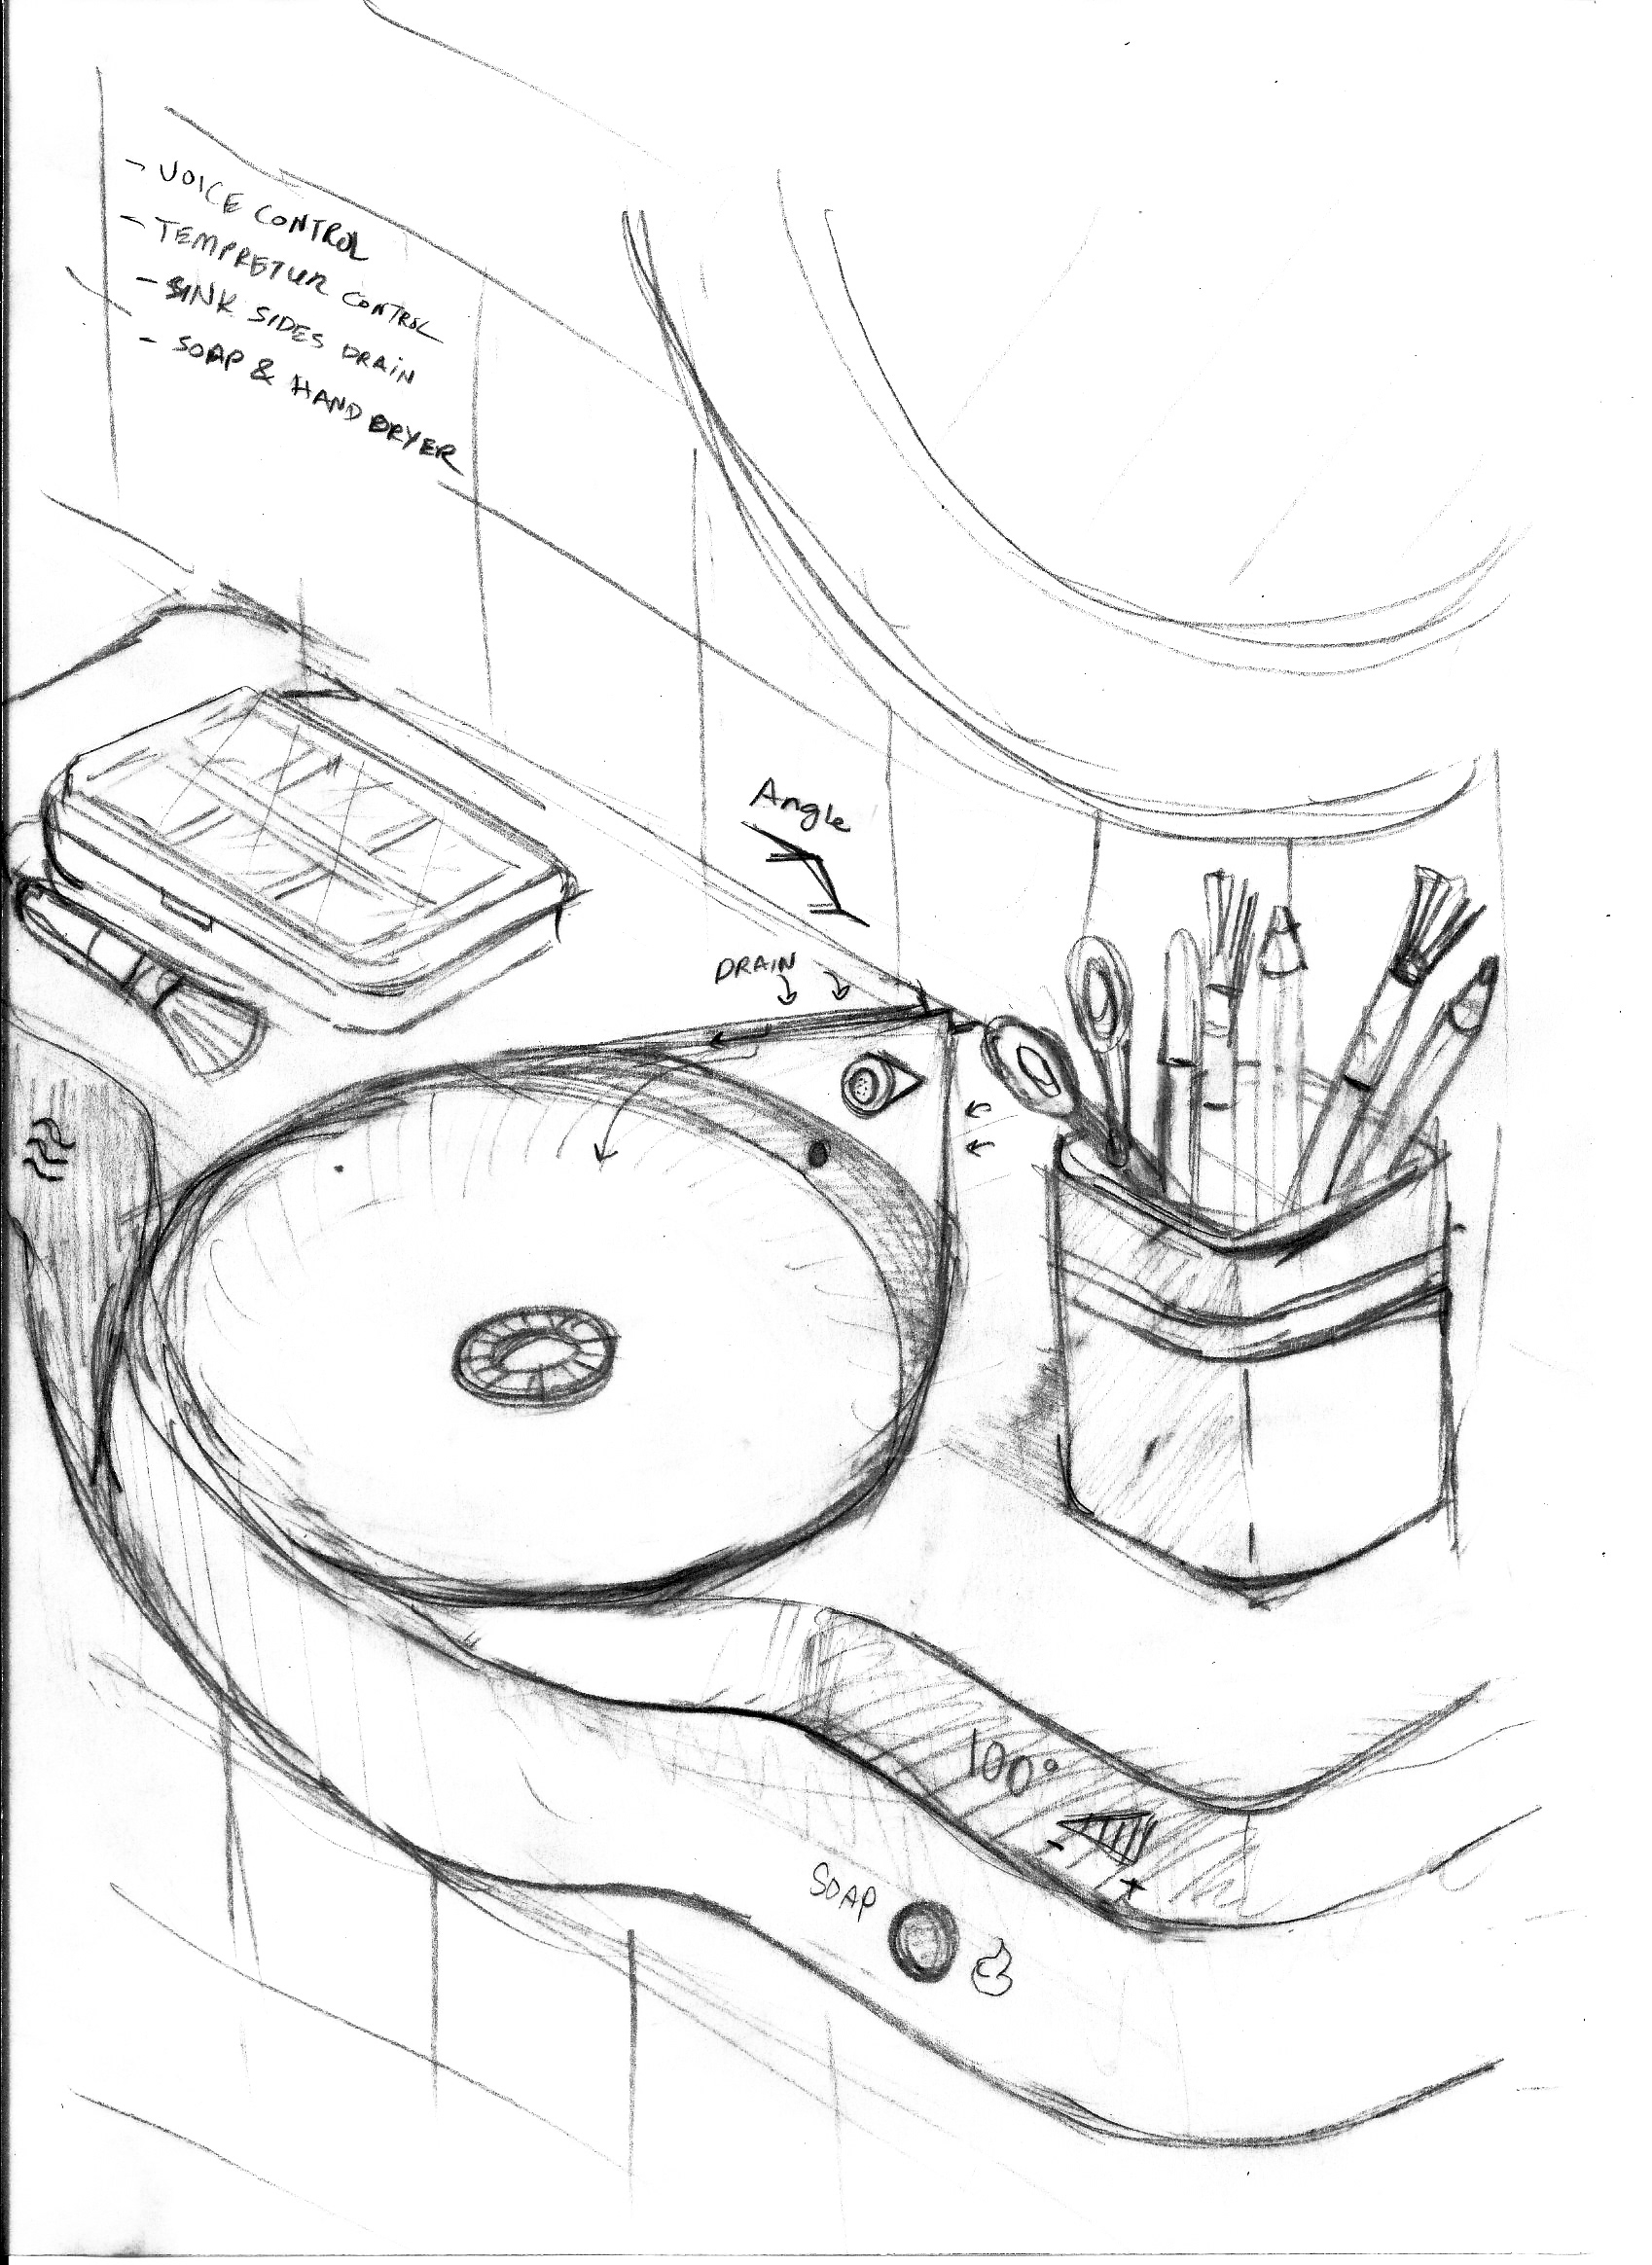
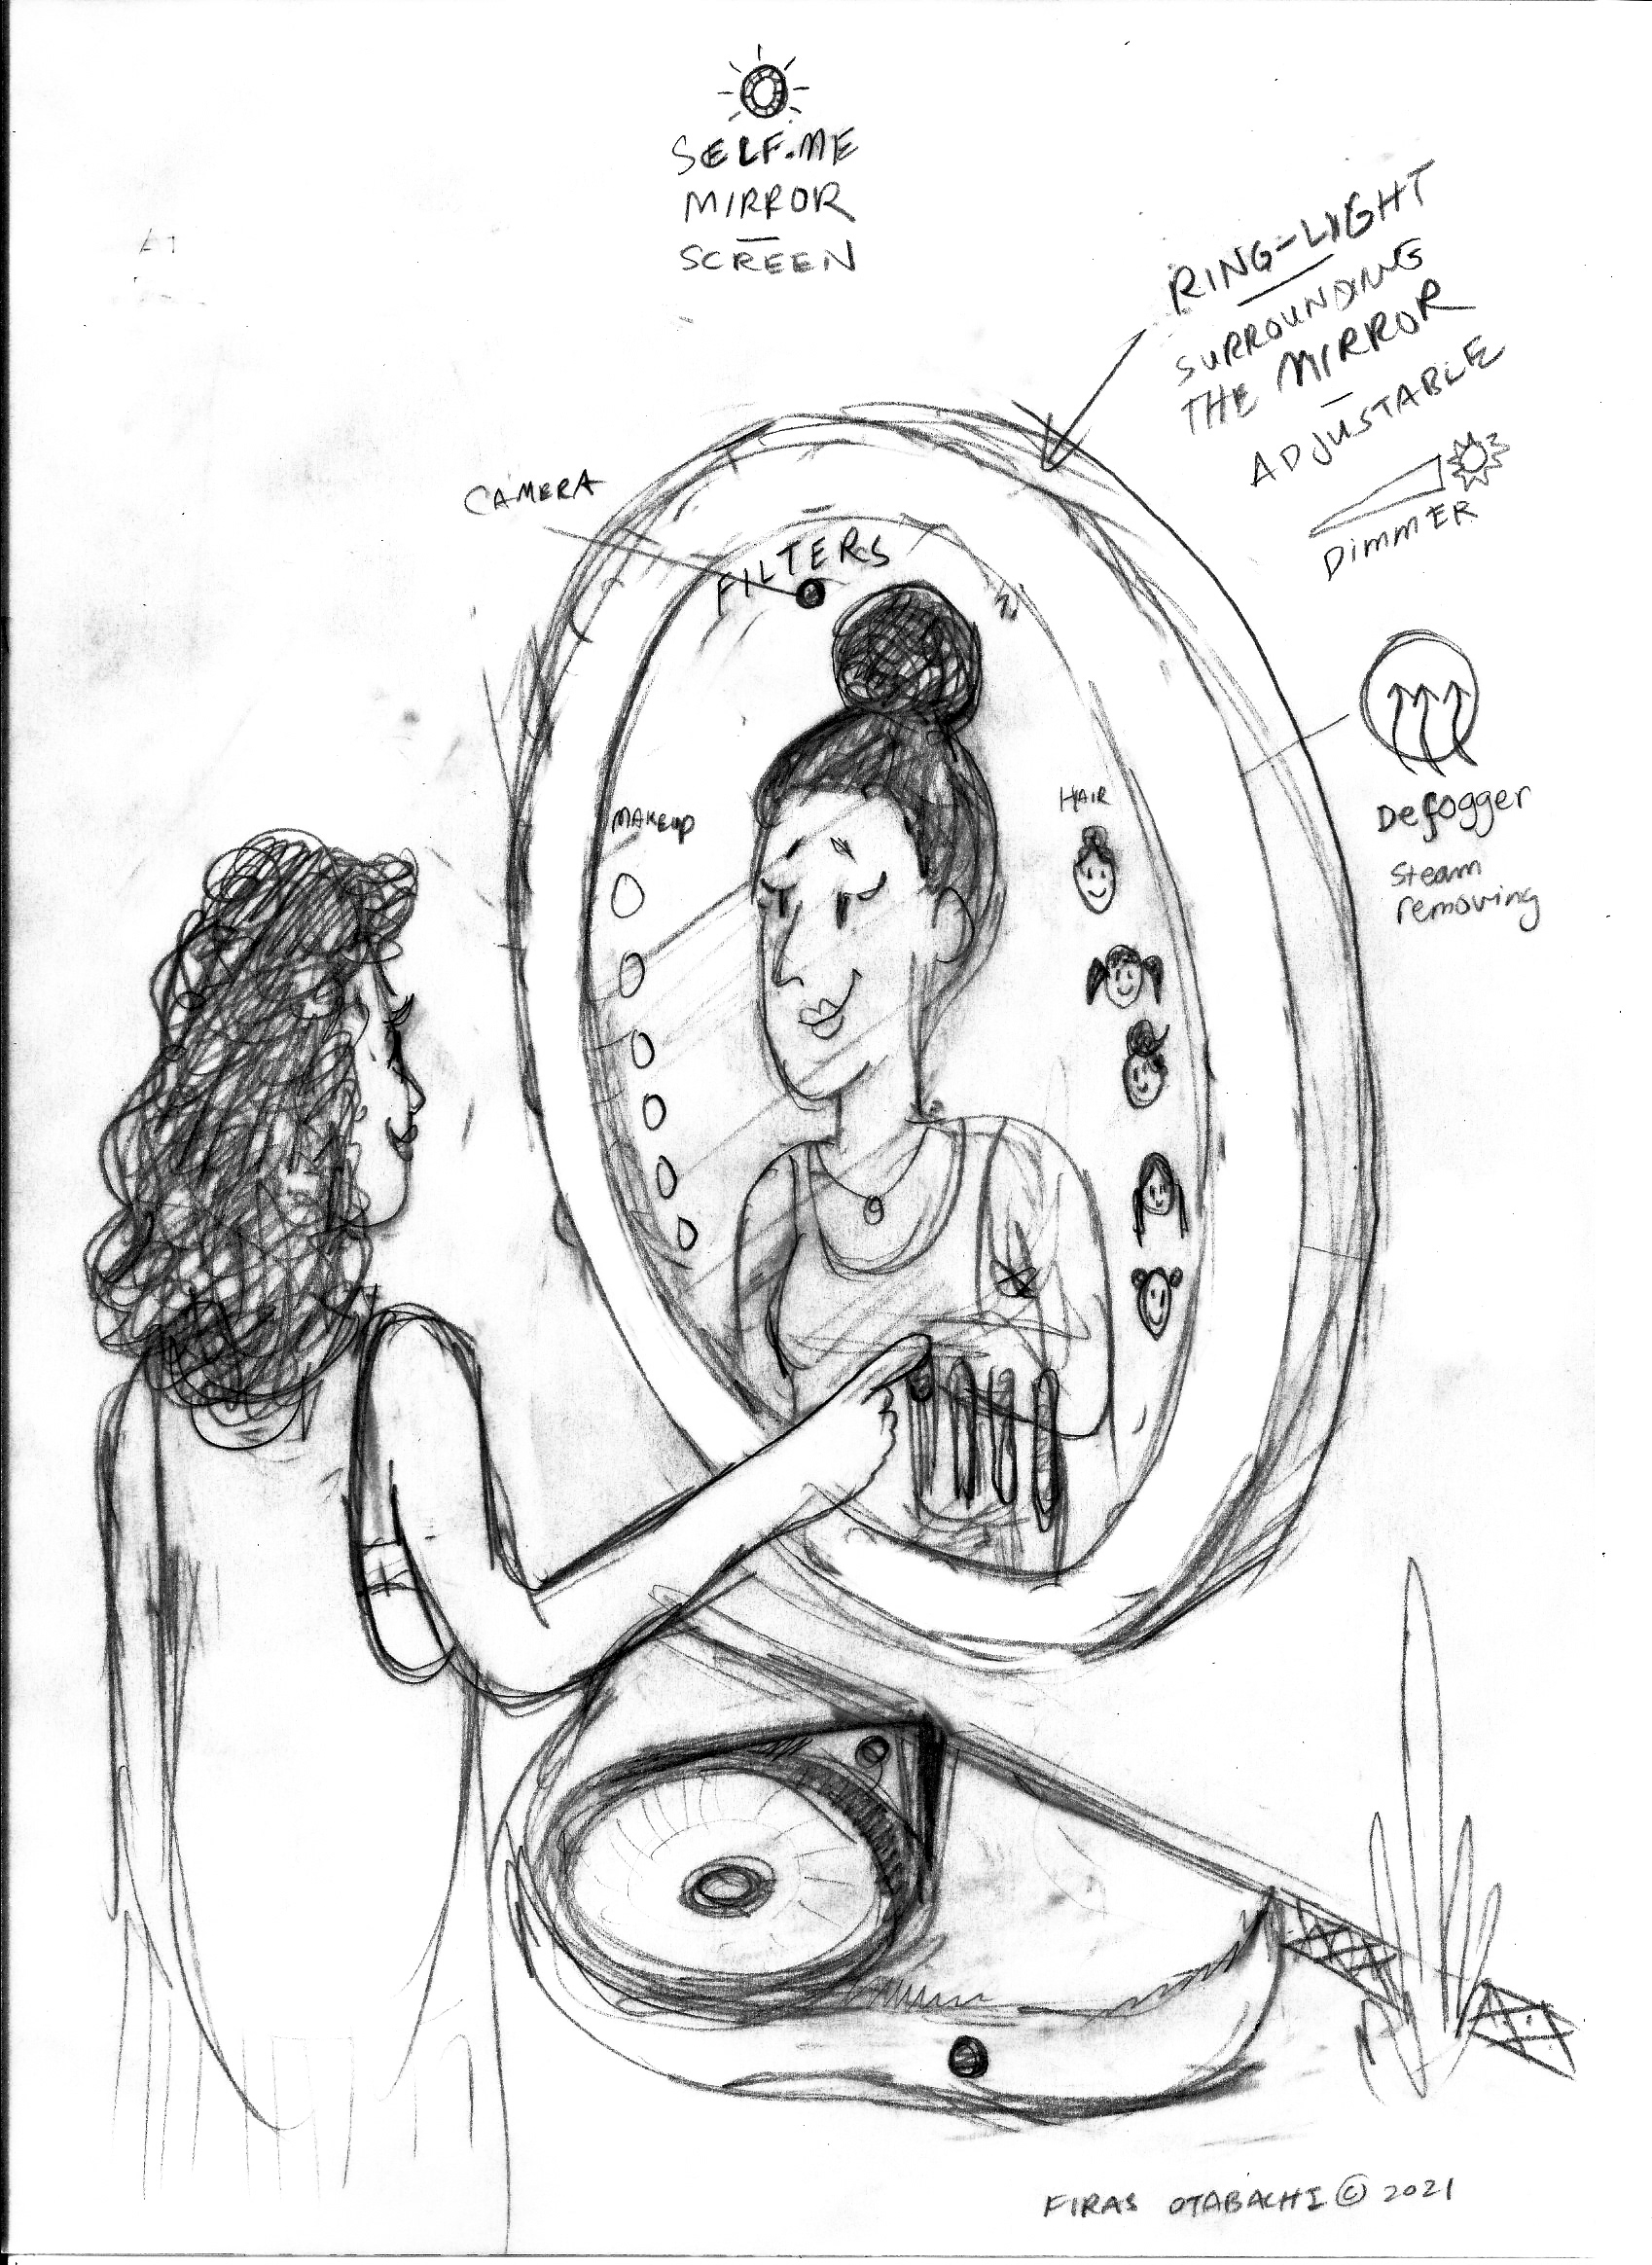
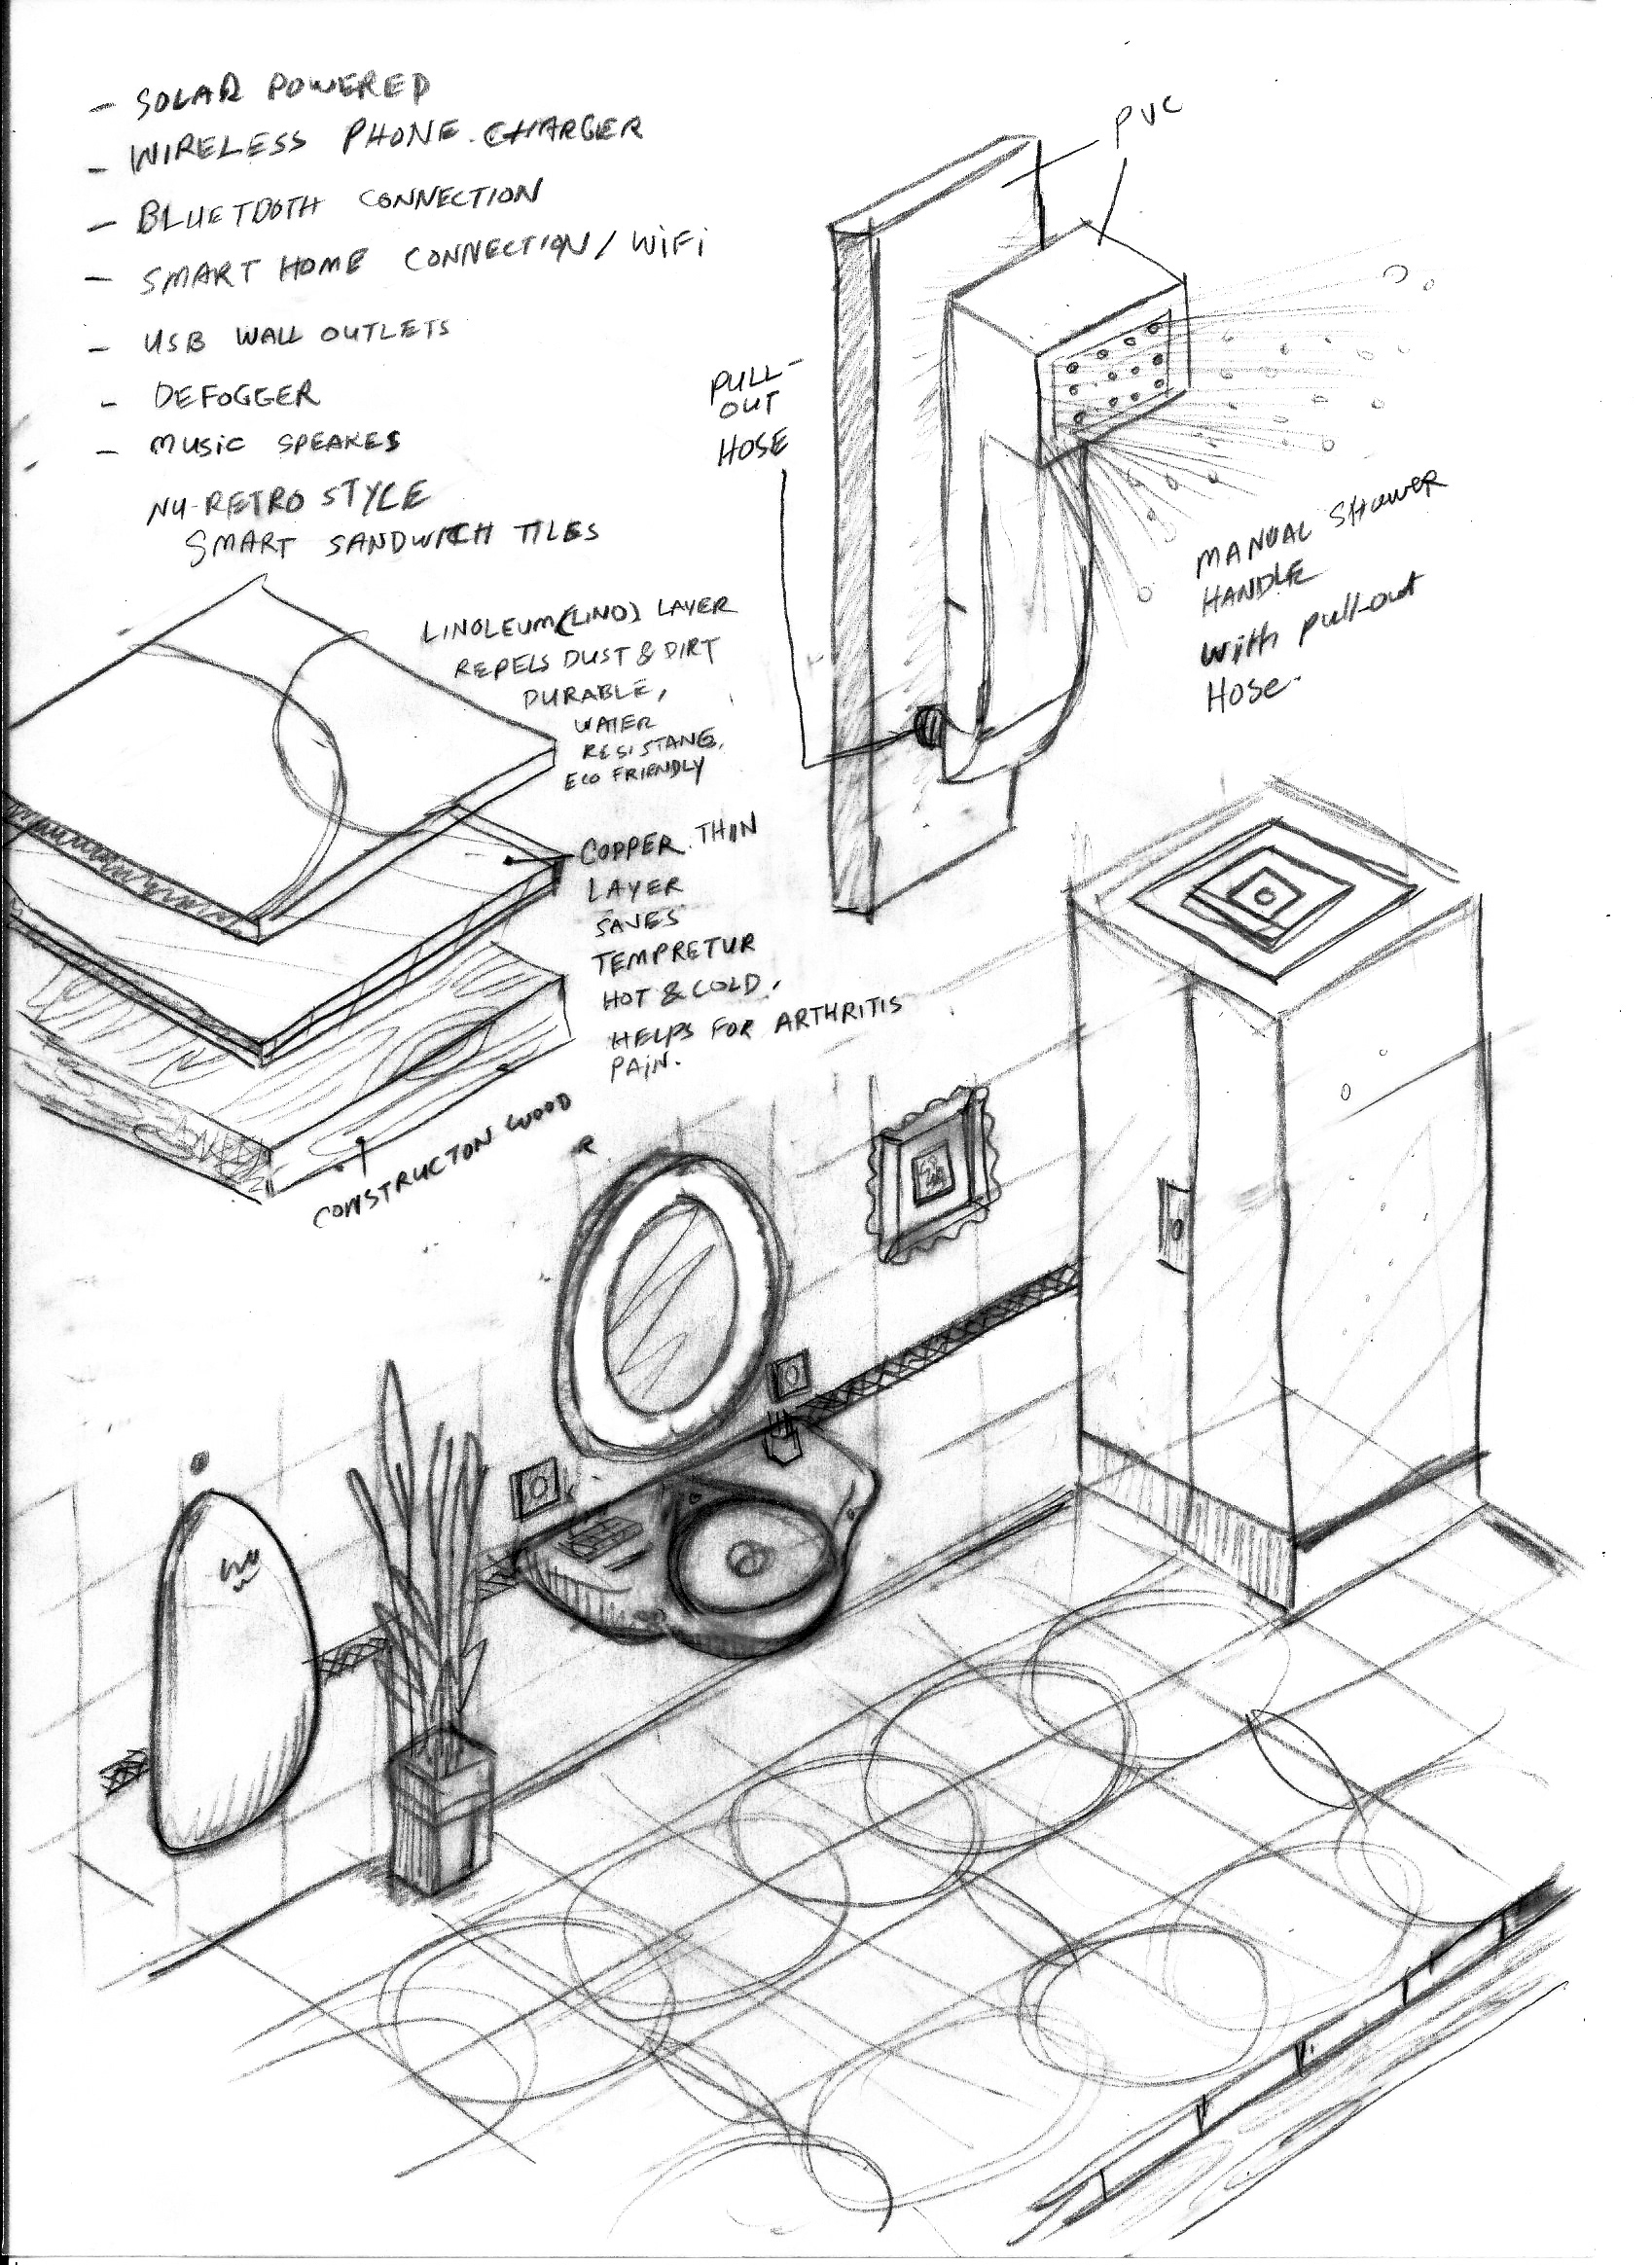
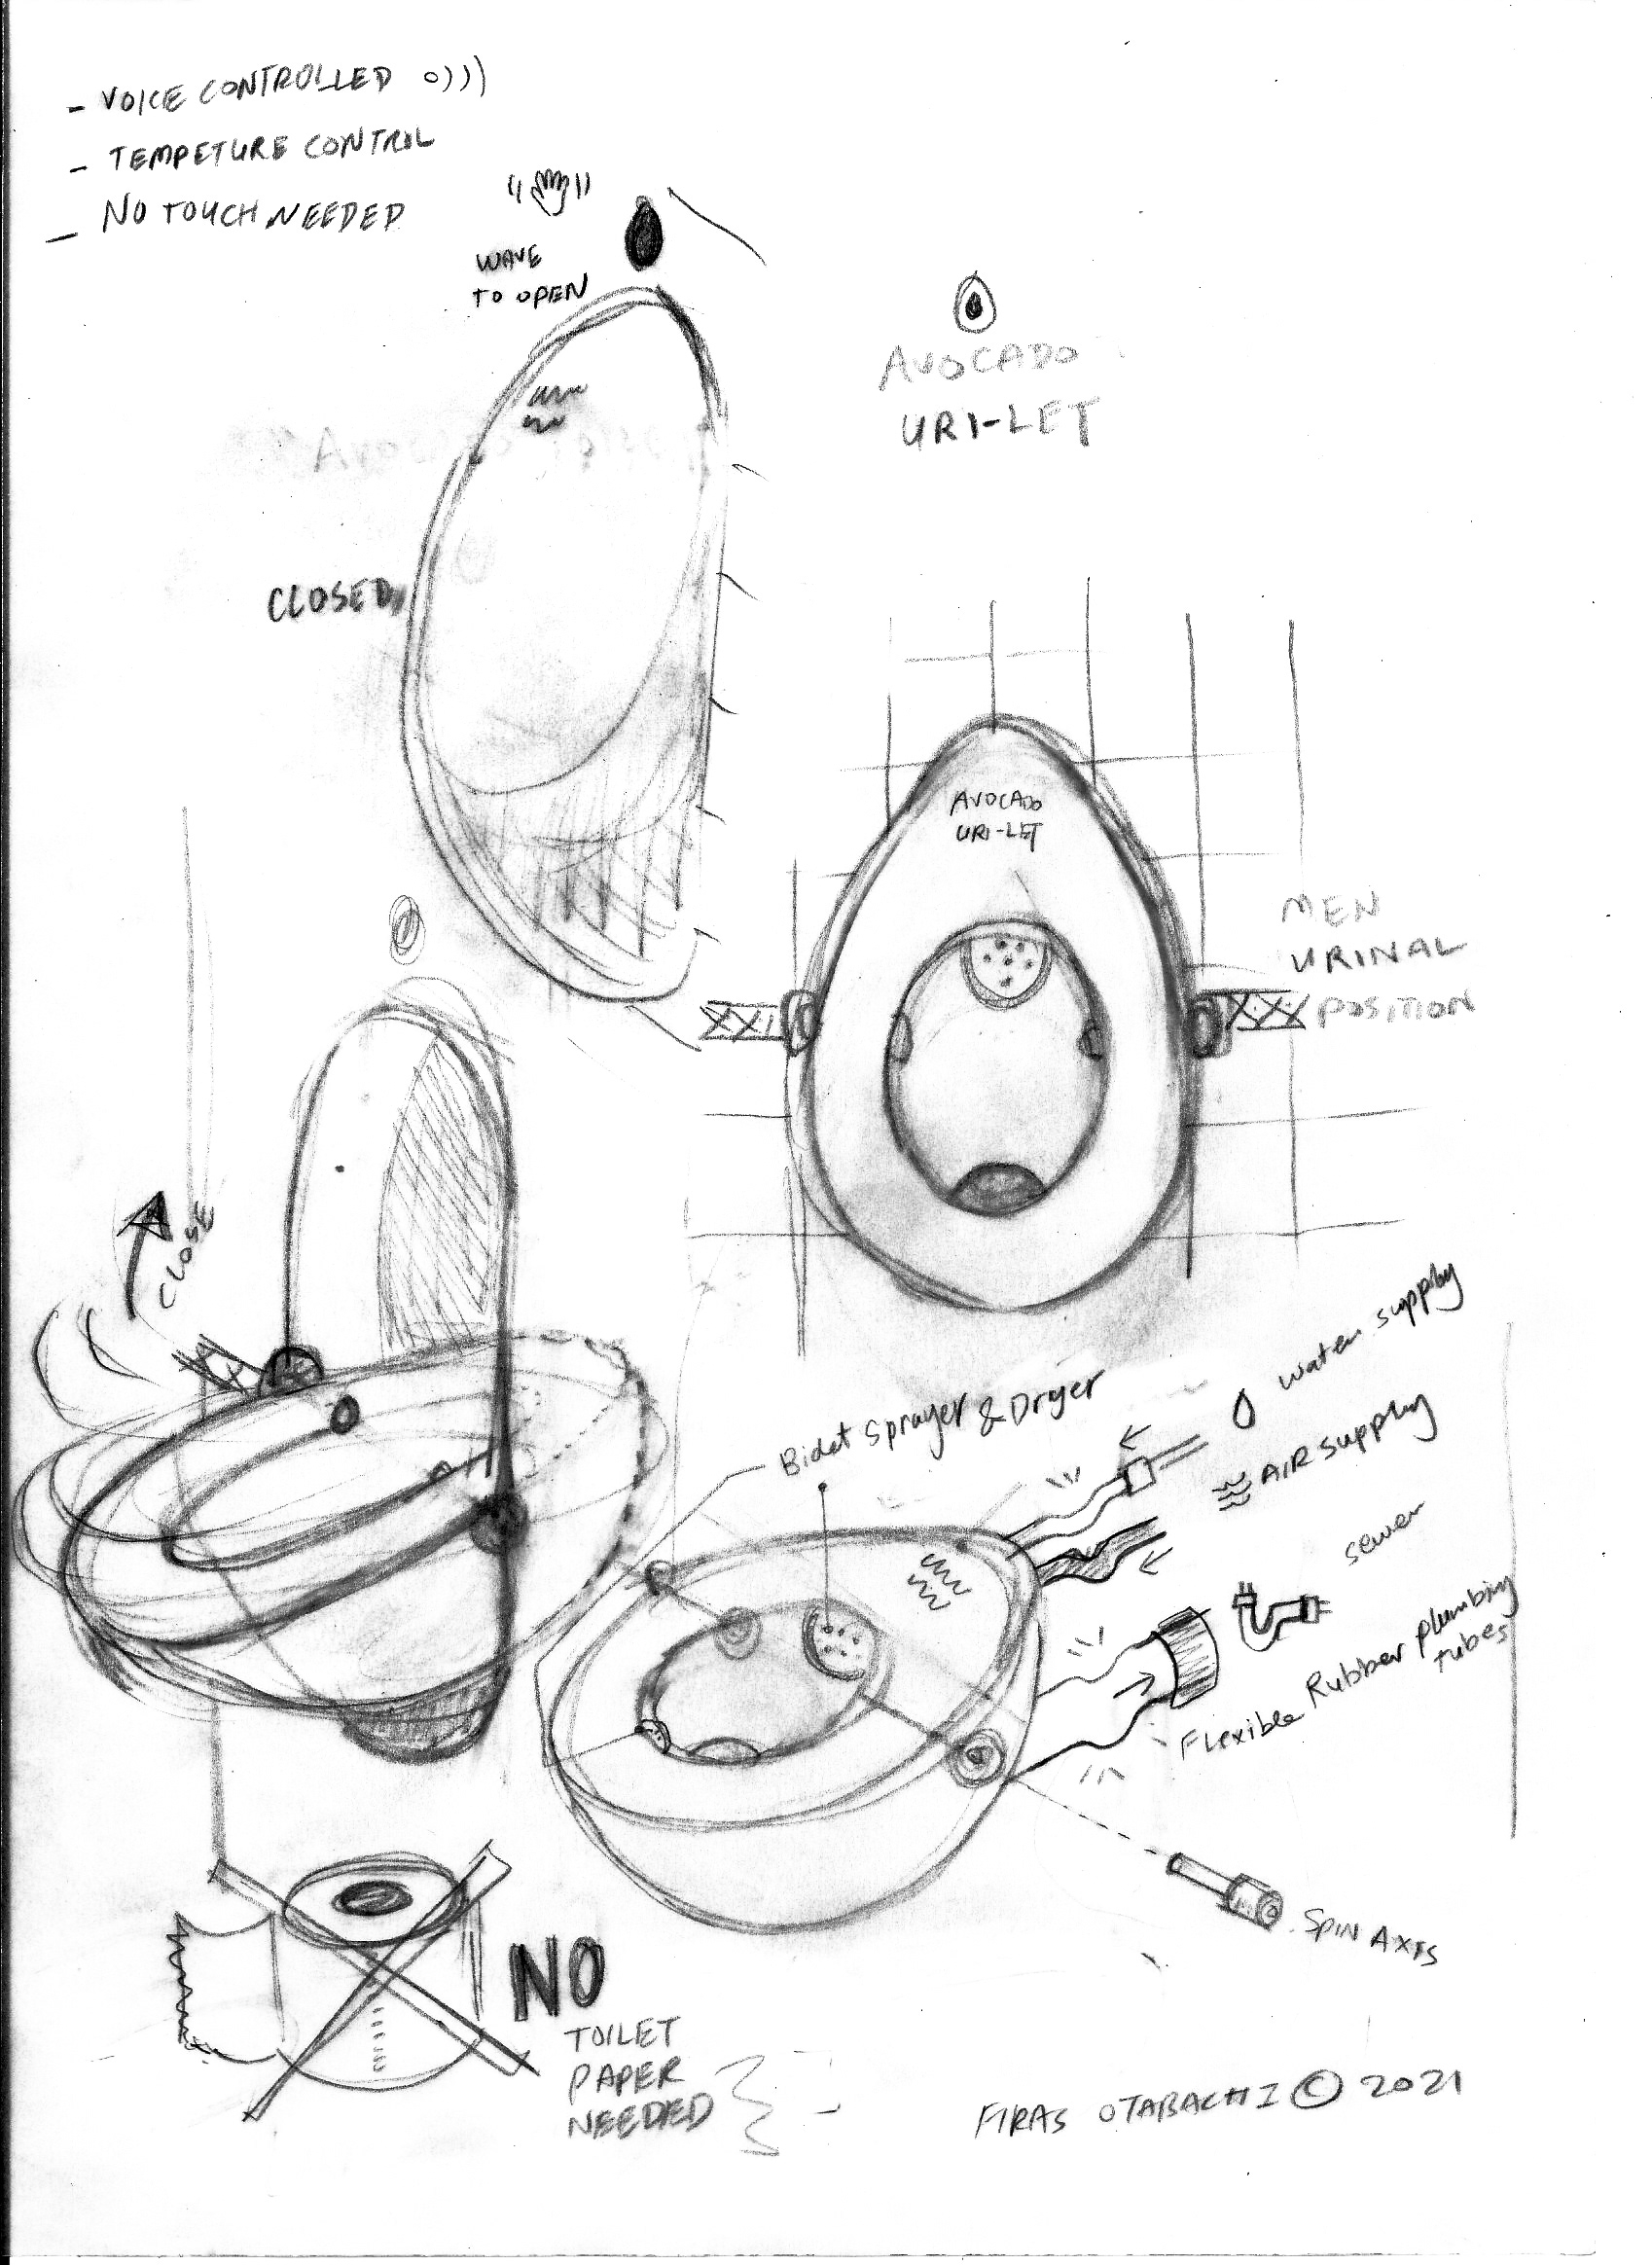
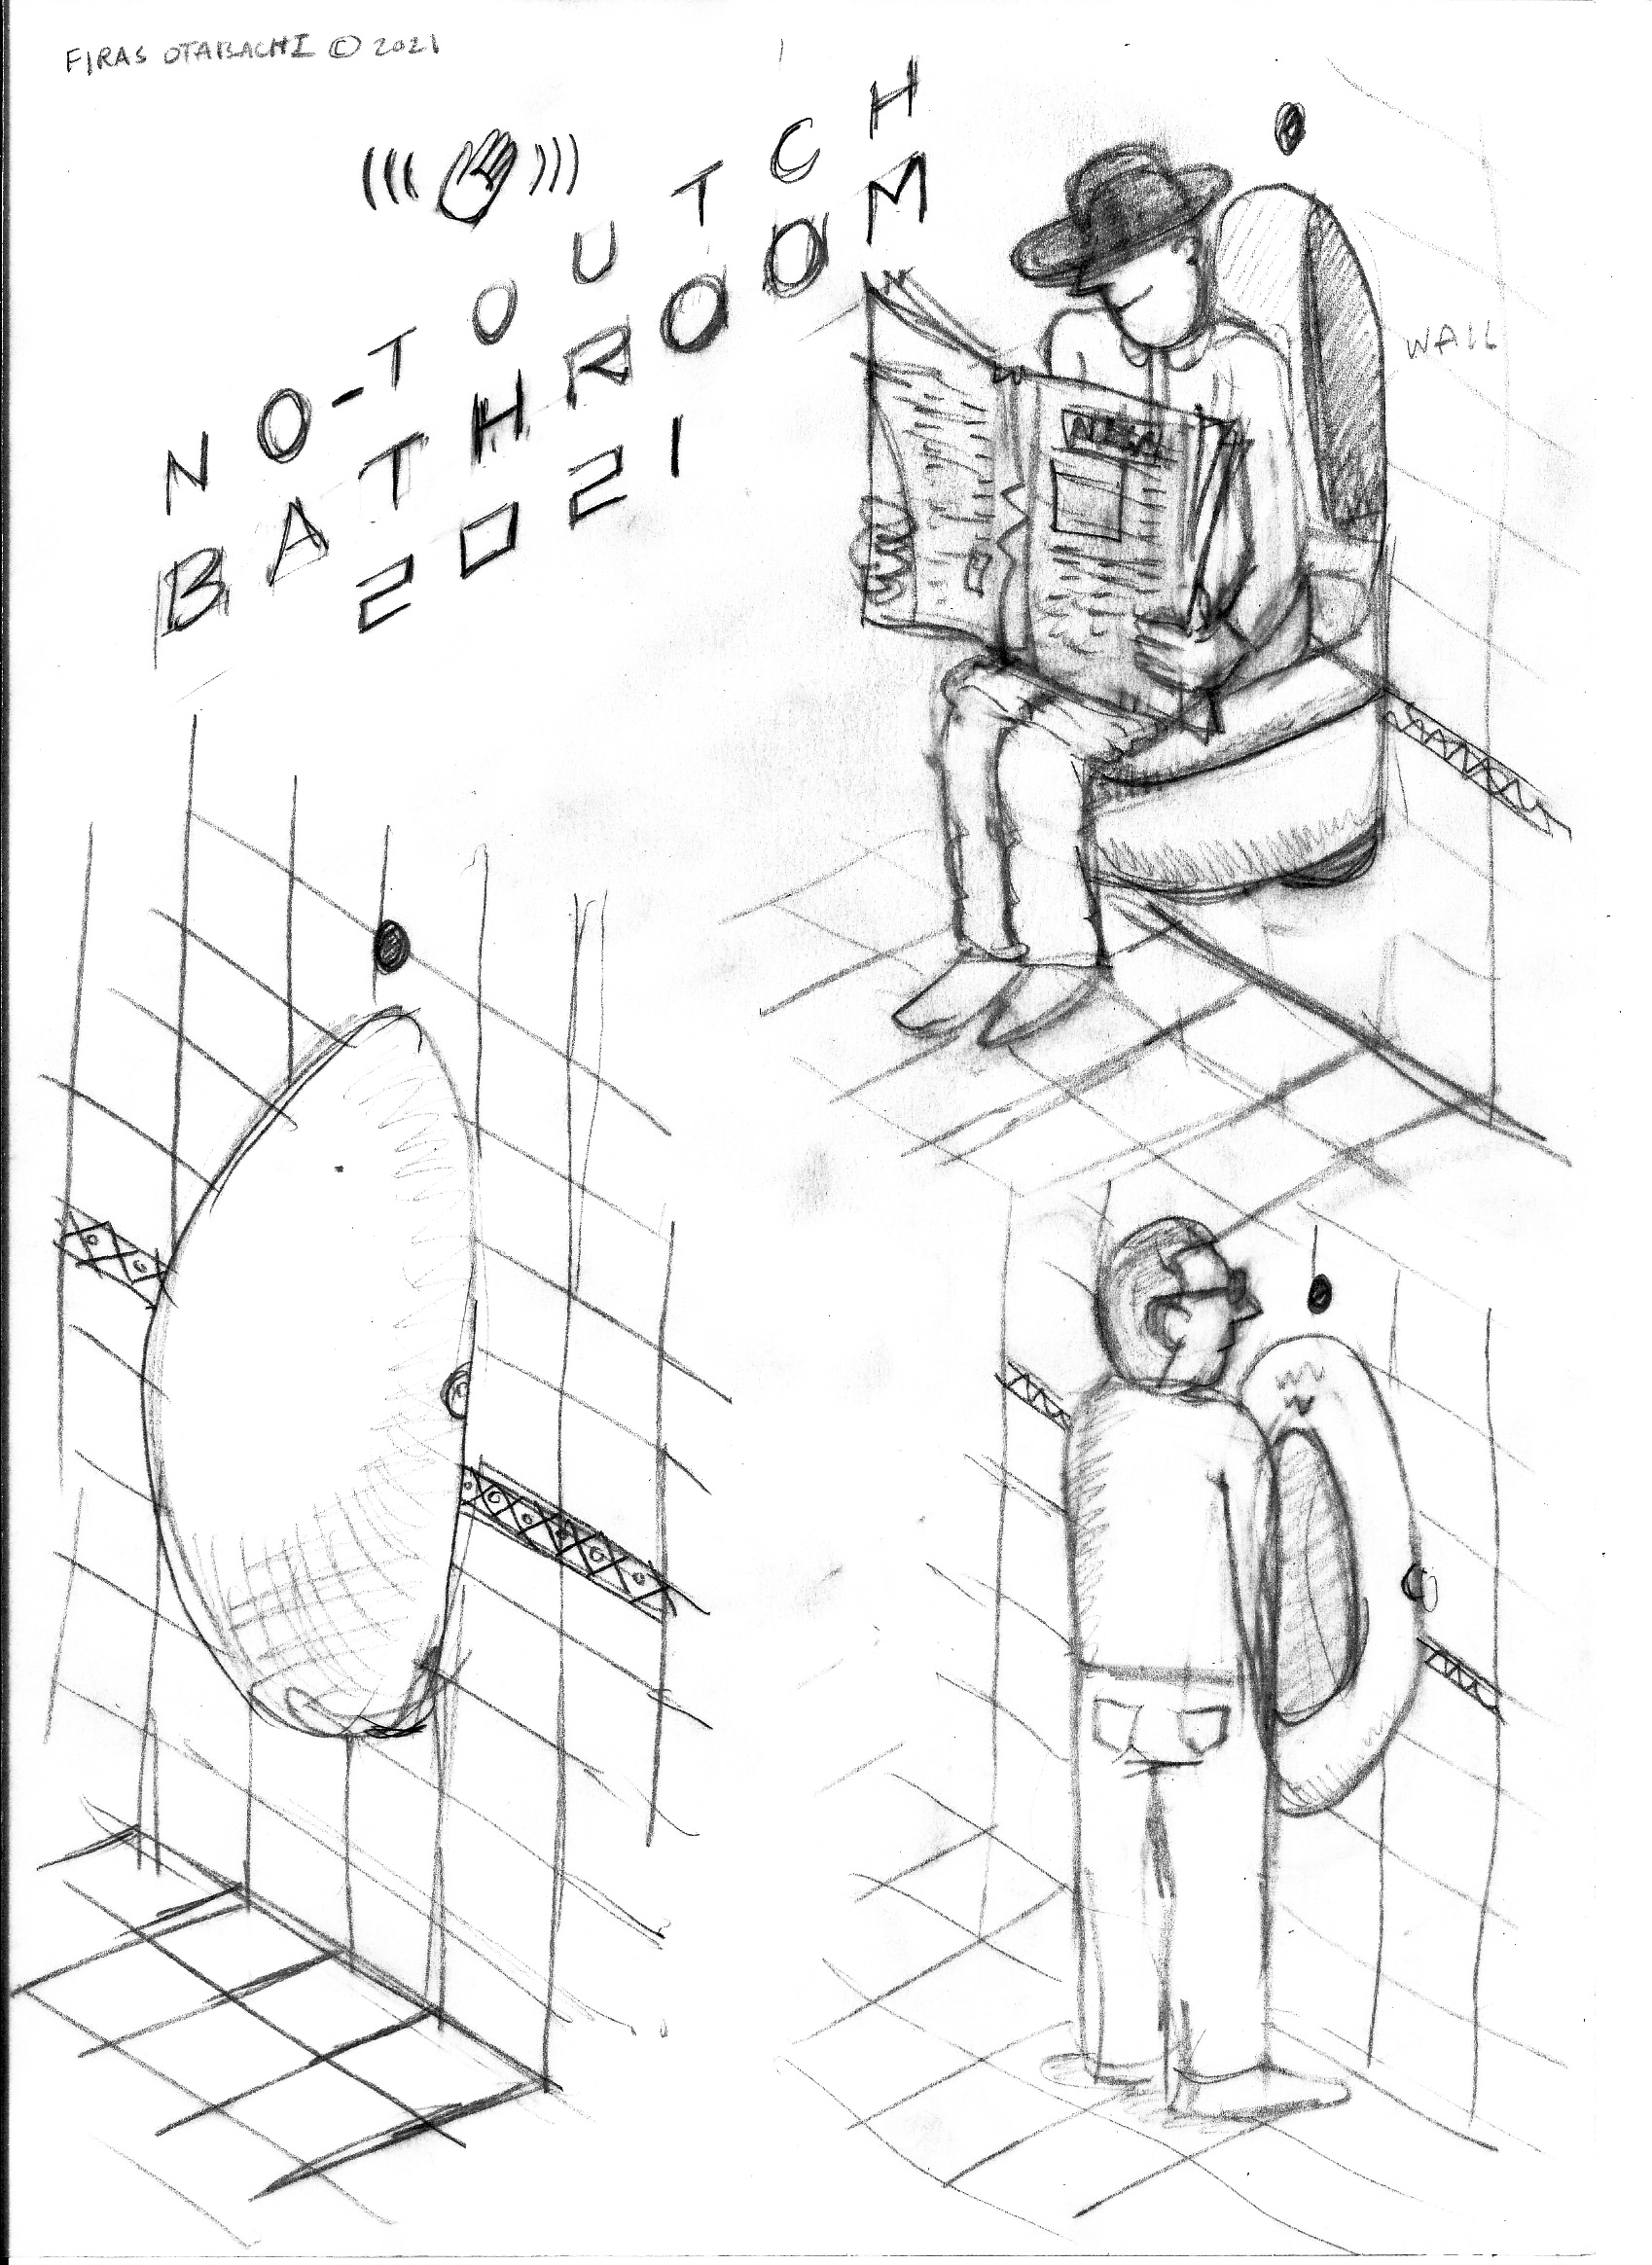
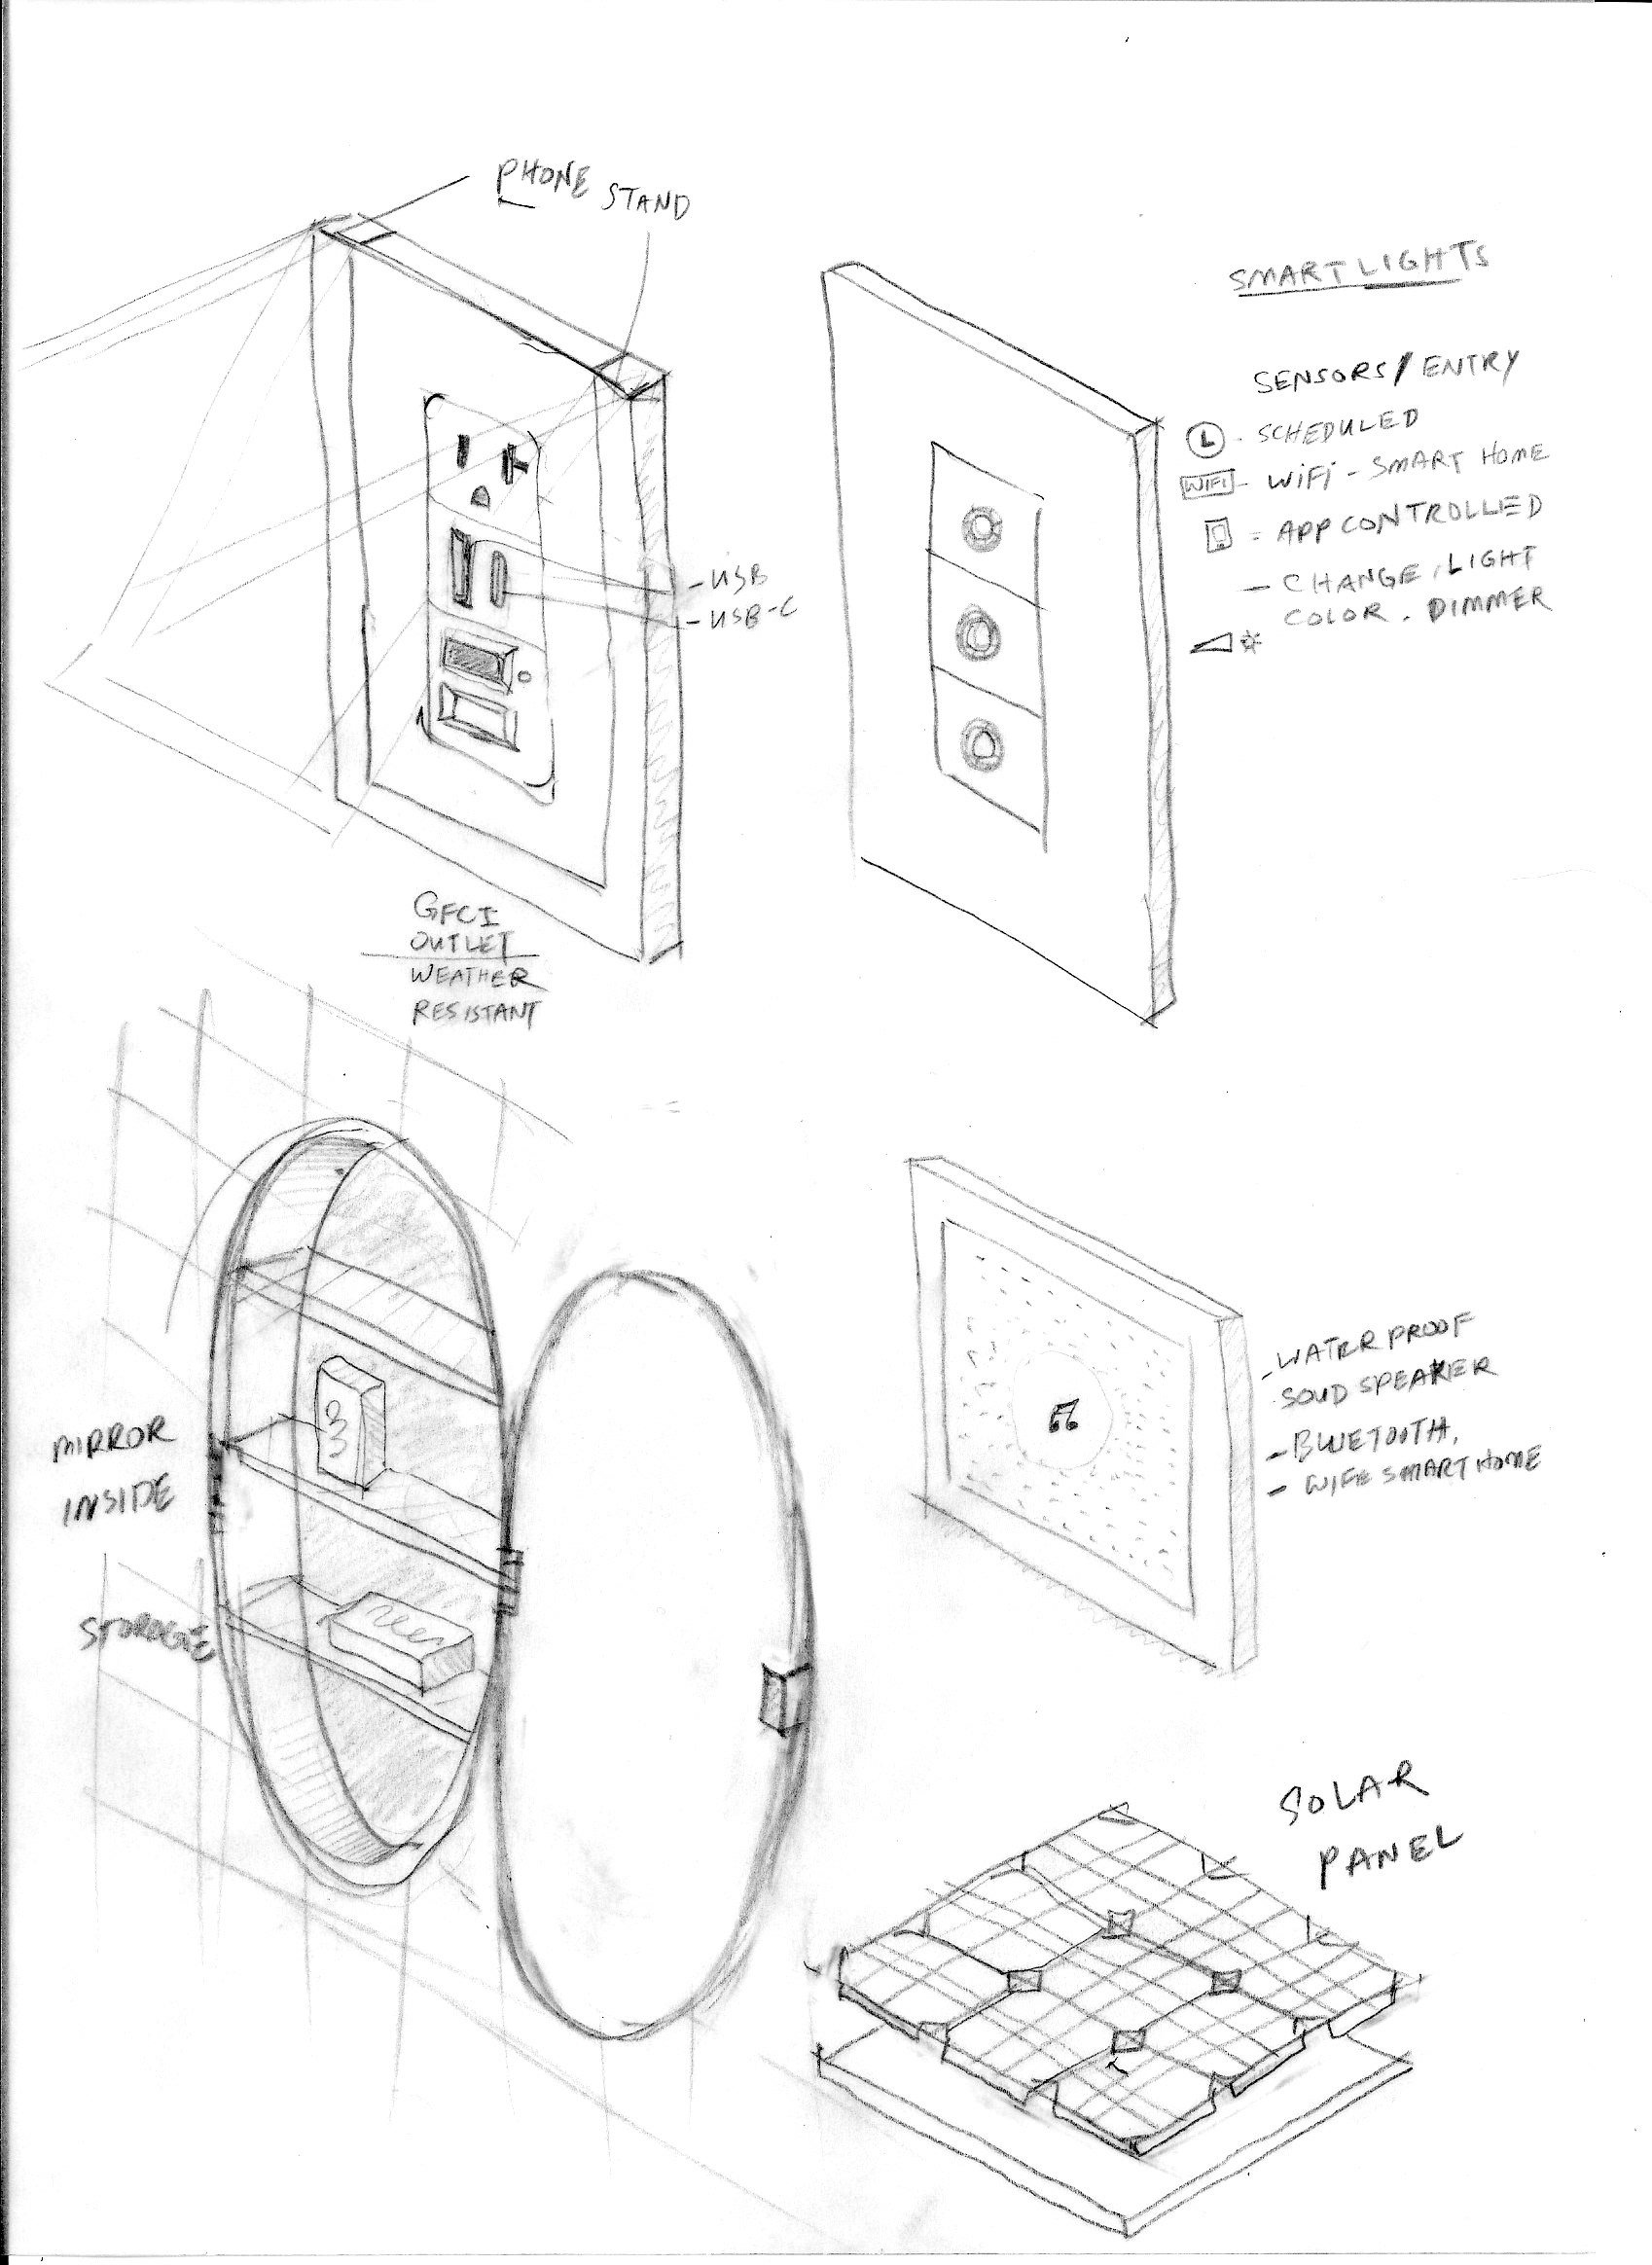
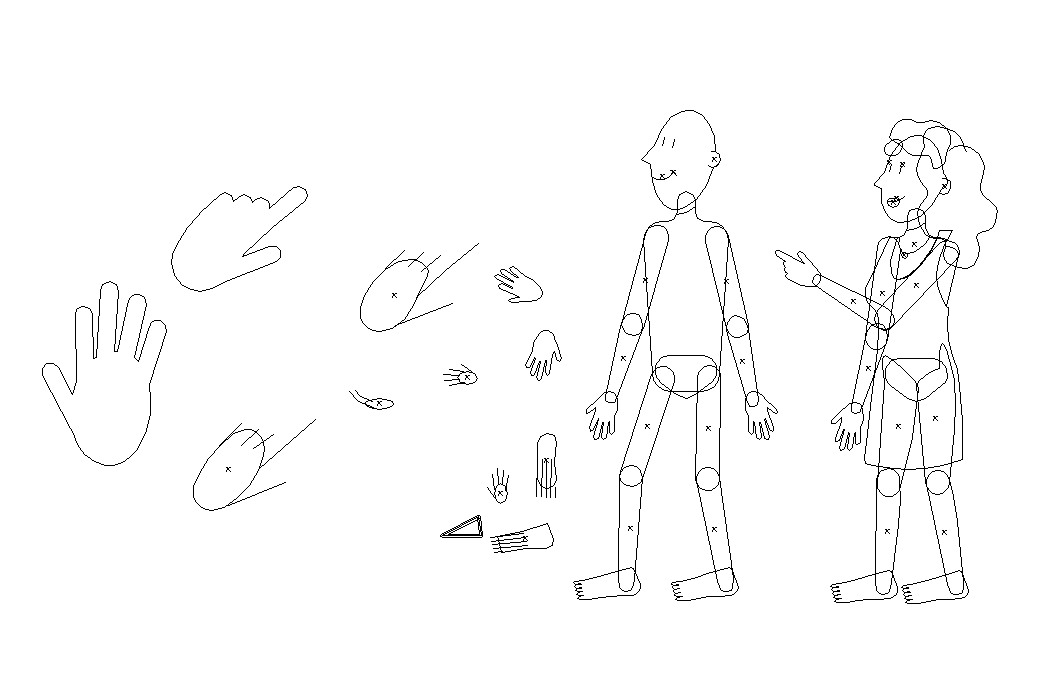
INITIAL SKETCHES & IDEAS
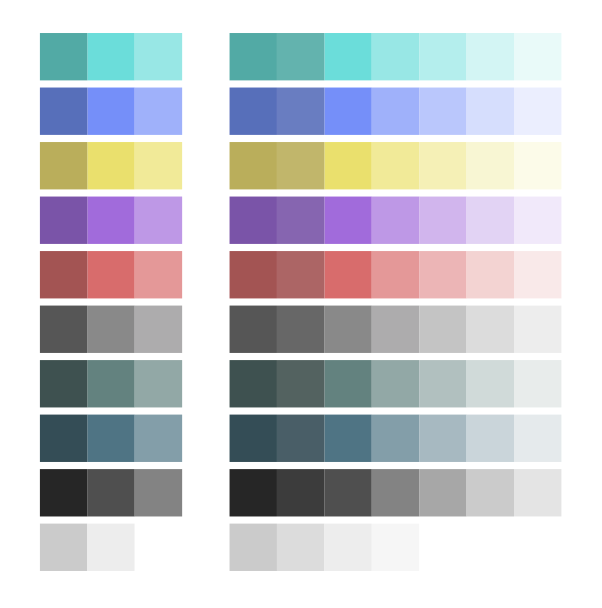
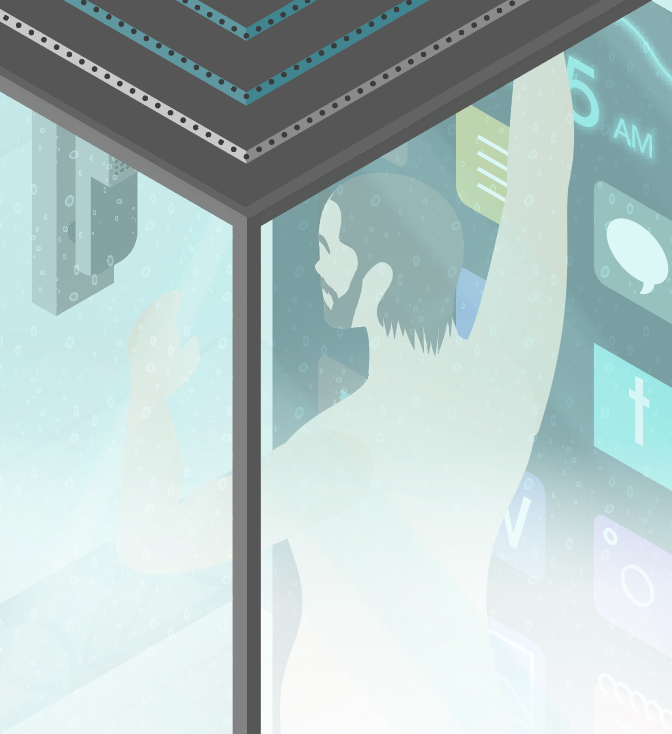
COLOR PALETTE
Below is the color palette I selected for my futurist bathroom that represent cleanness and modernity, high-tech and purity, so you'll light gray and whites, at the same time you'll see shocking vibrant energetic teal and purple blue. The pale yellow and red were very minimal, while vibrant violet which represents intimacy and vanity, and basically the black was there for durability solidity and sturdiness.
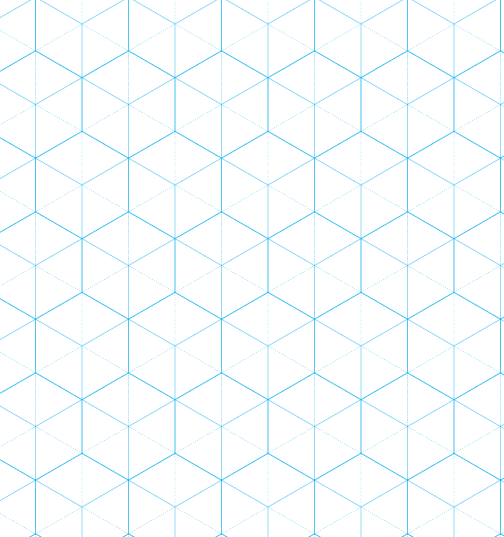
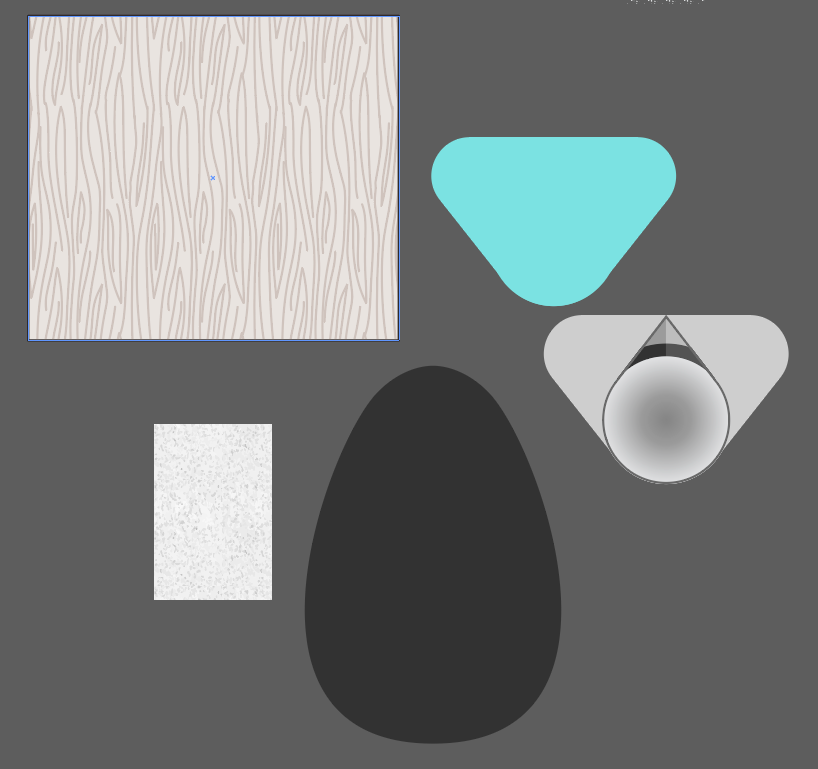
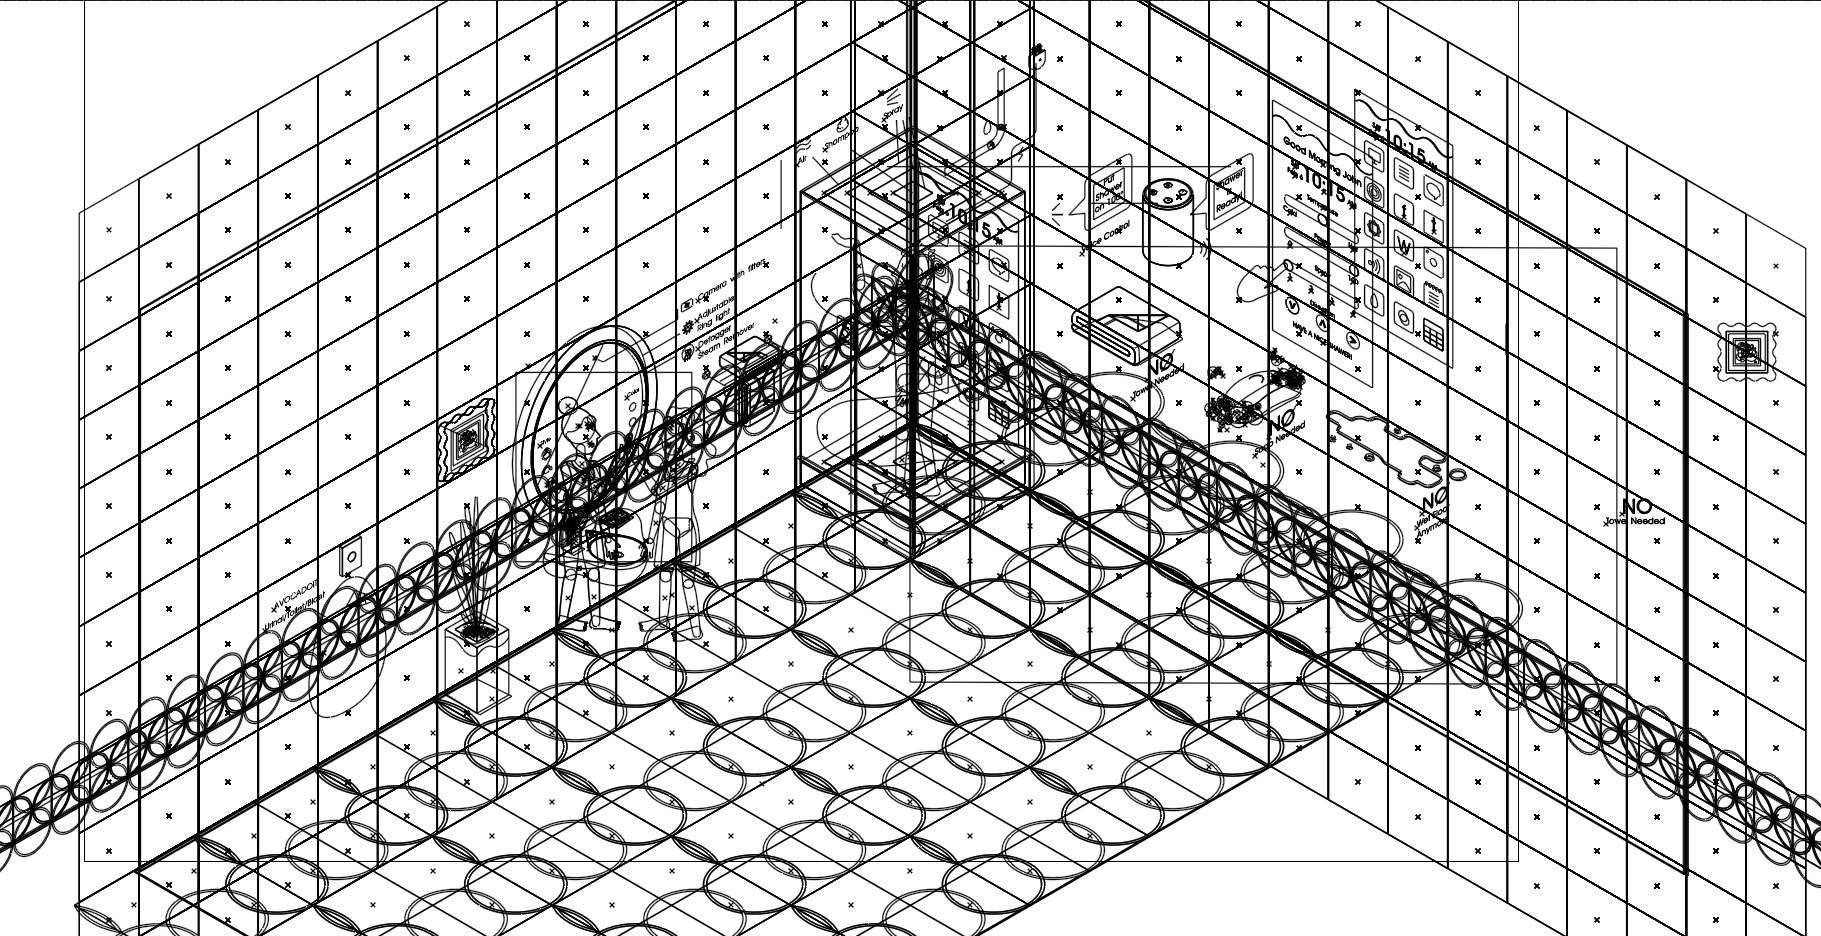
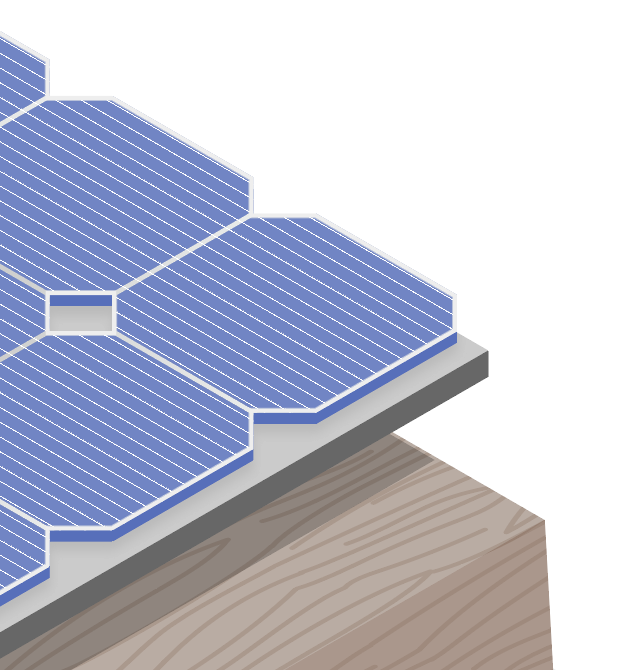
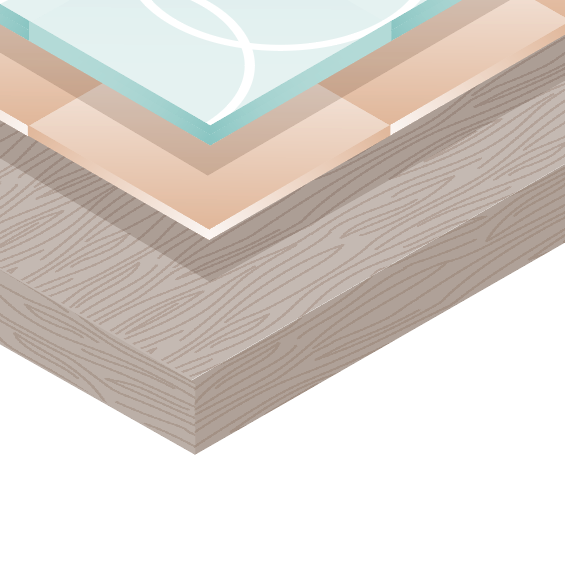
ISOMERIC ILLUSTRATION PROCESS
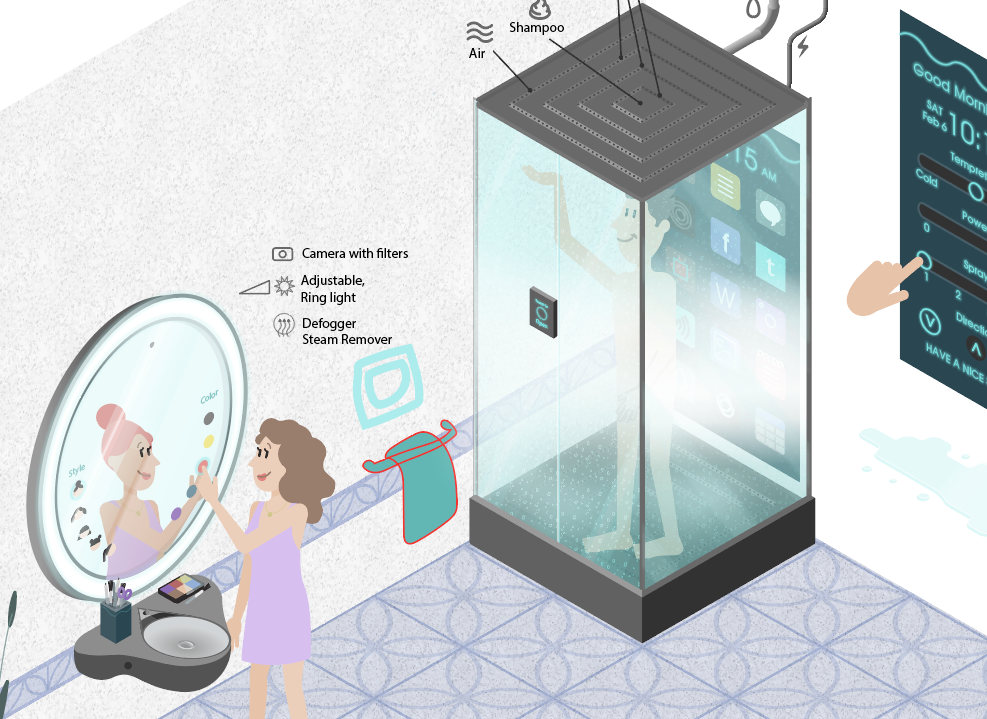
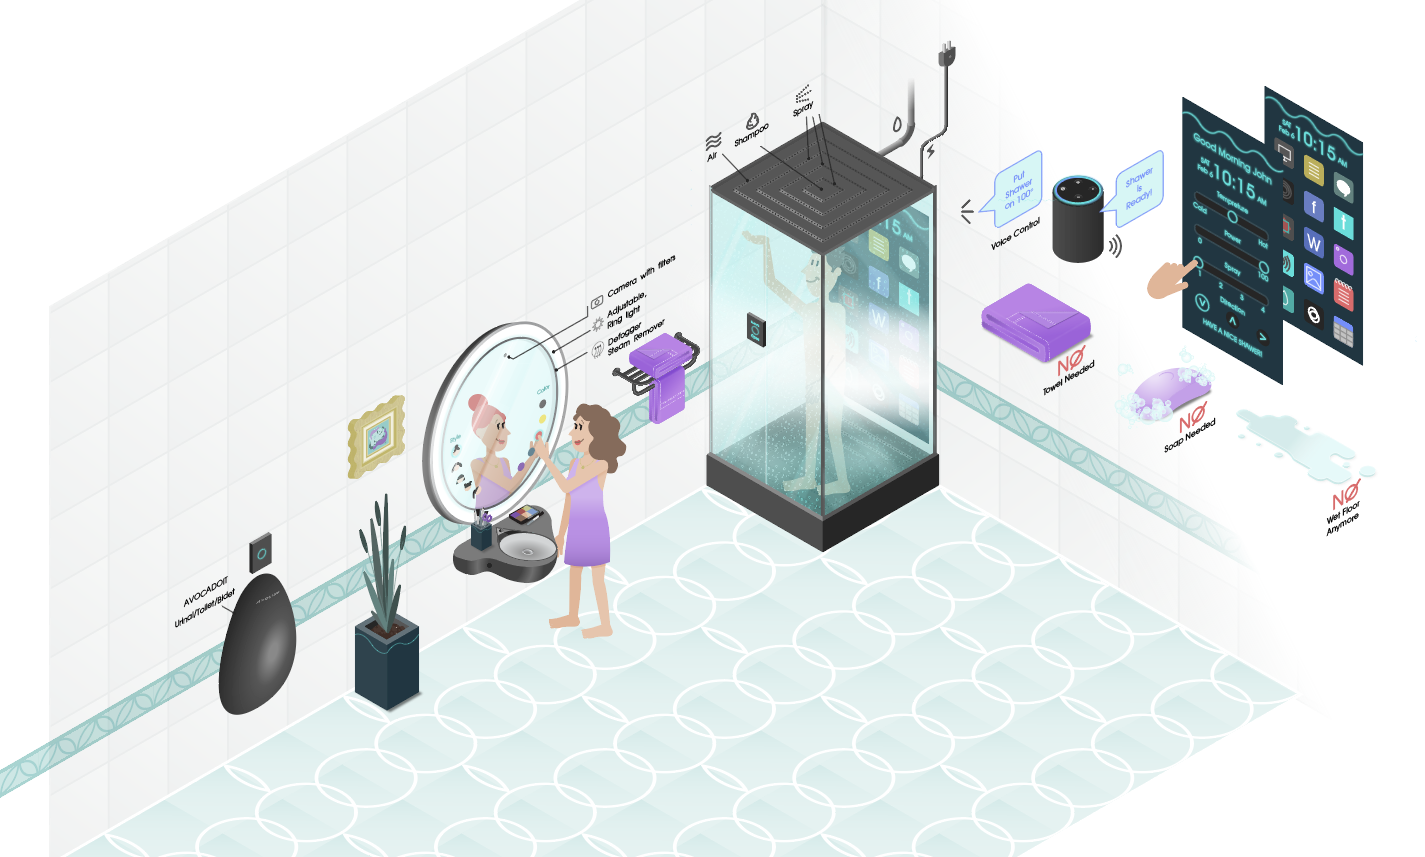
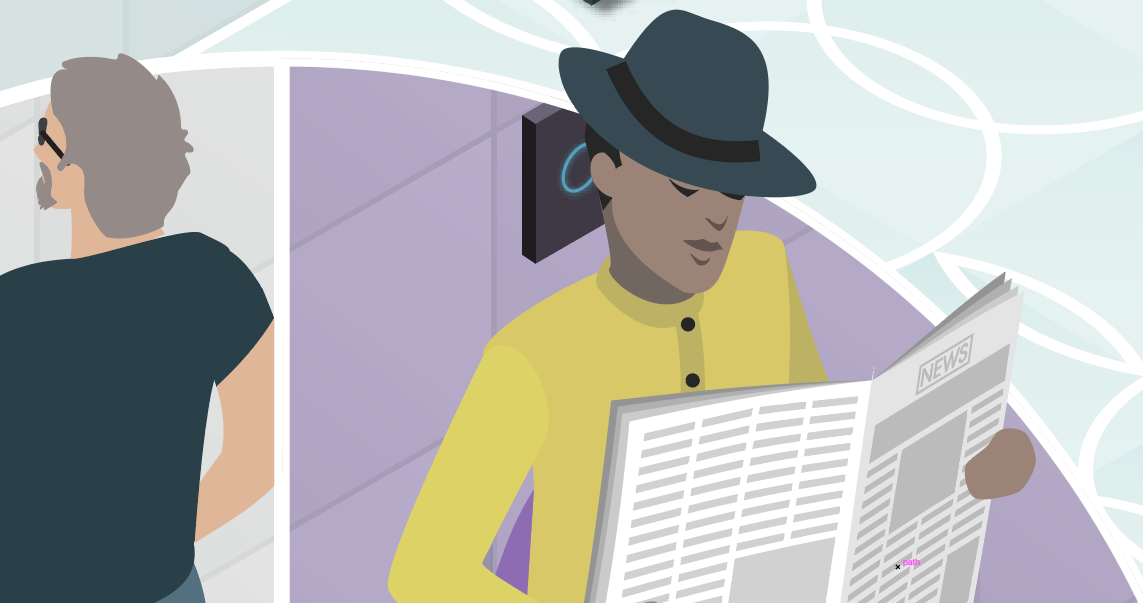
FINAL VECTOR ILLUSTRATIONS
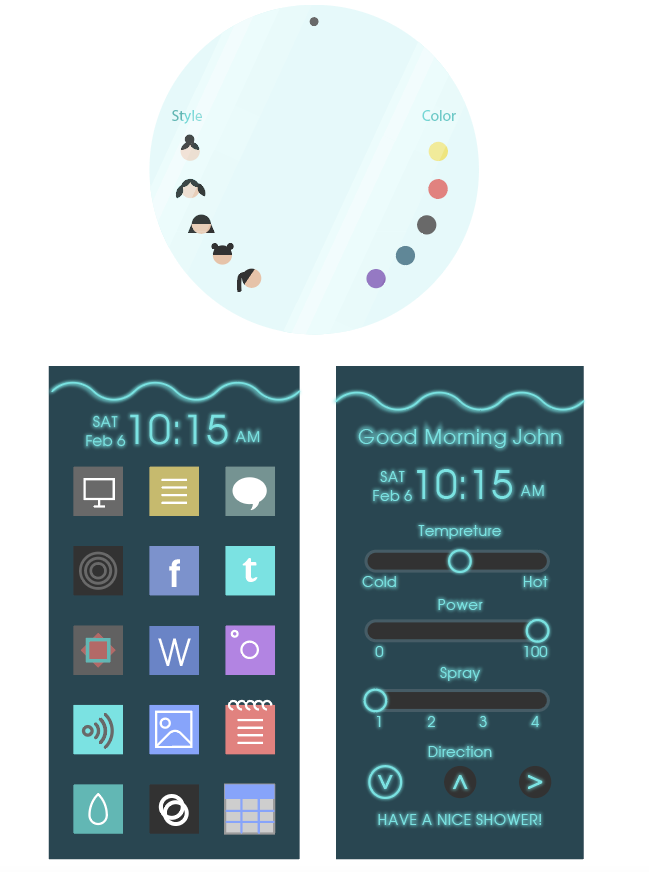
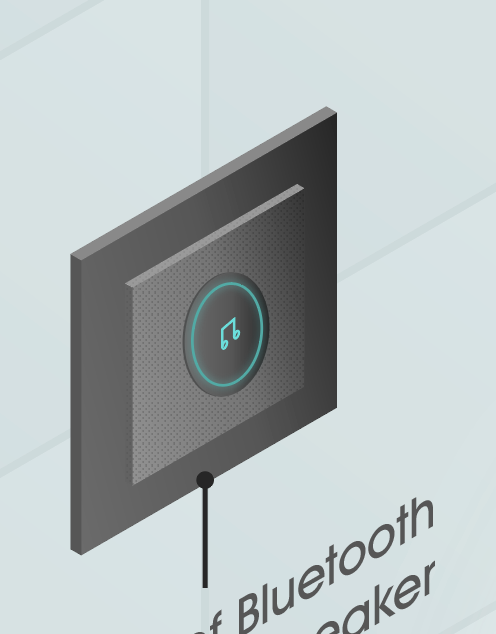
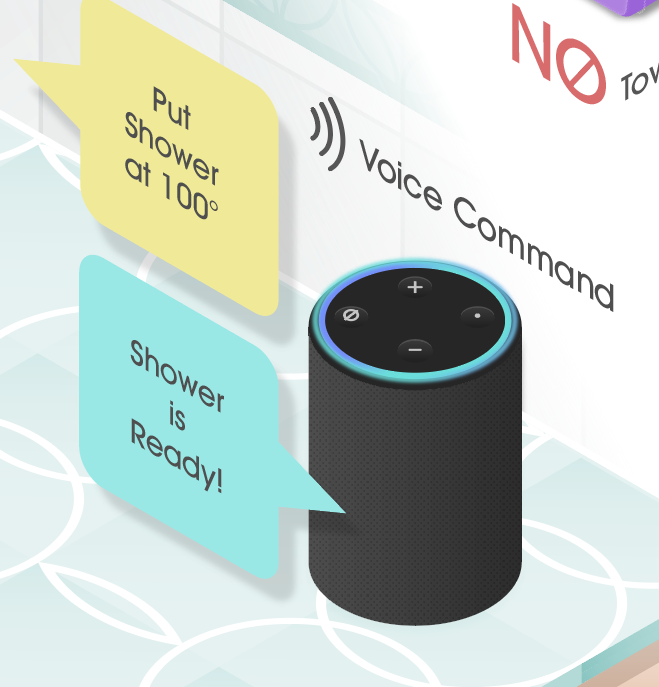
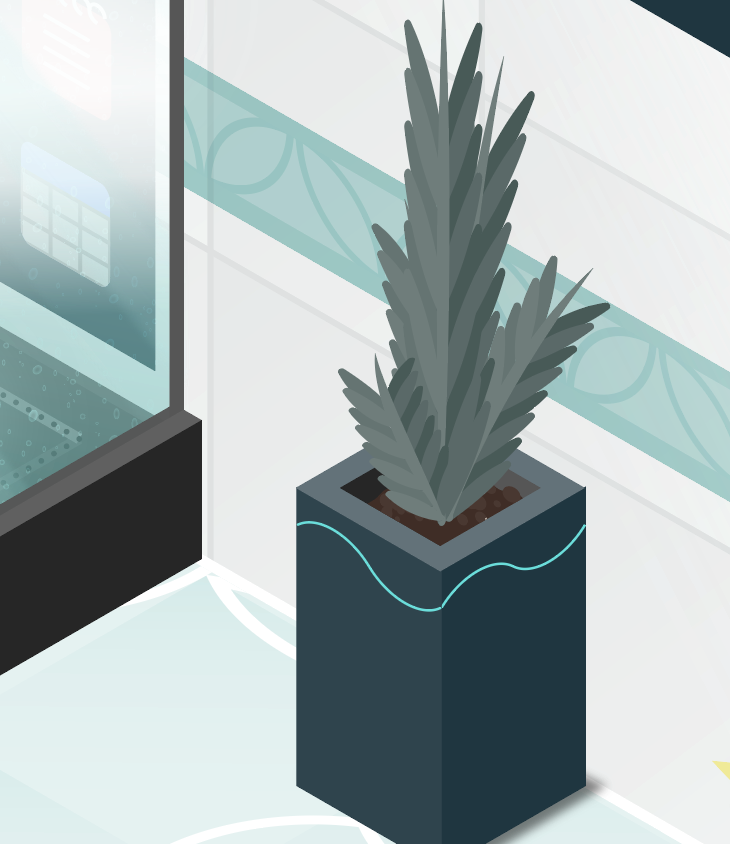
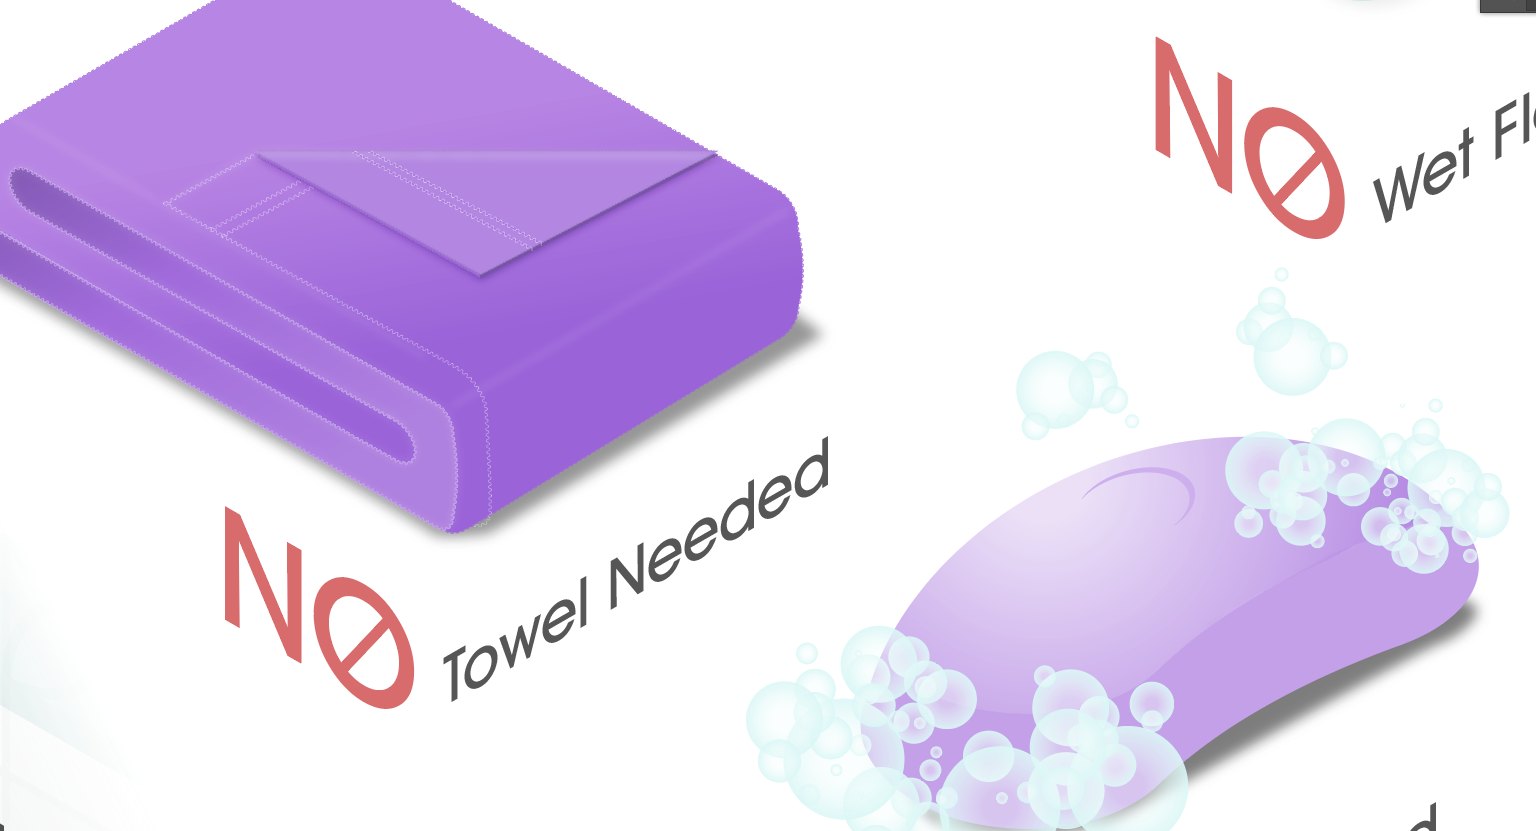
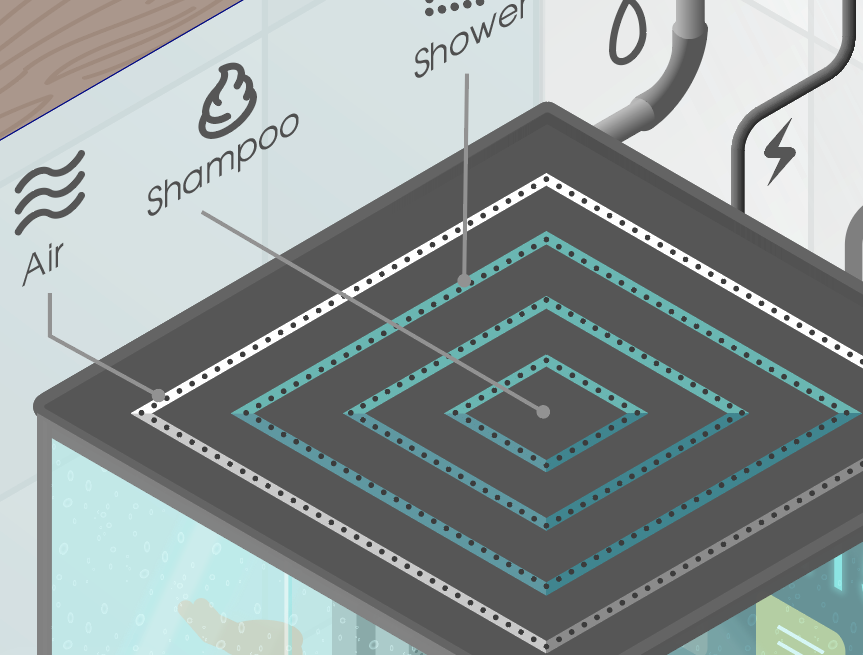
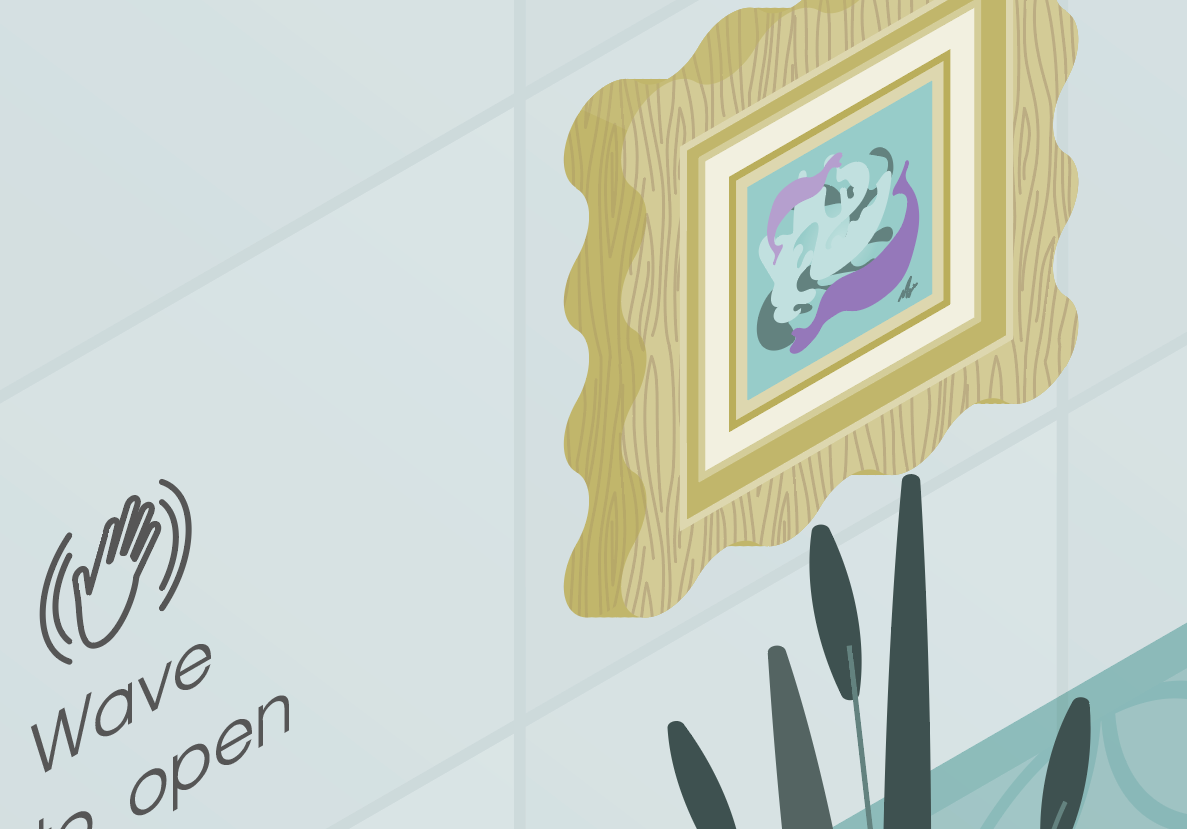
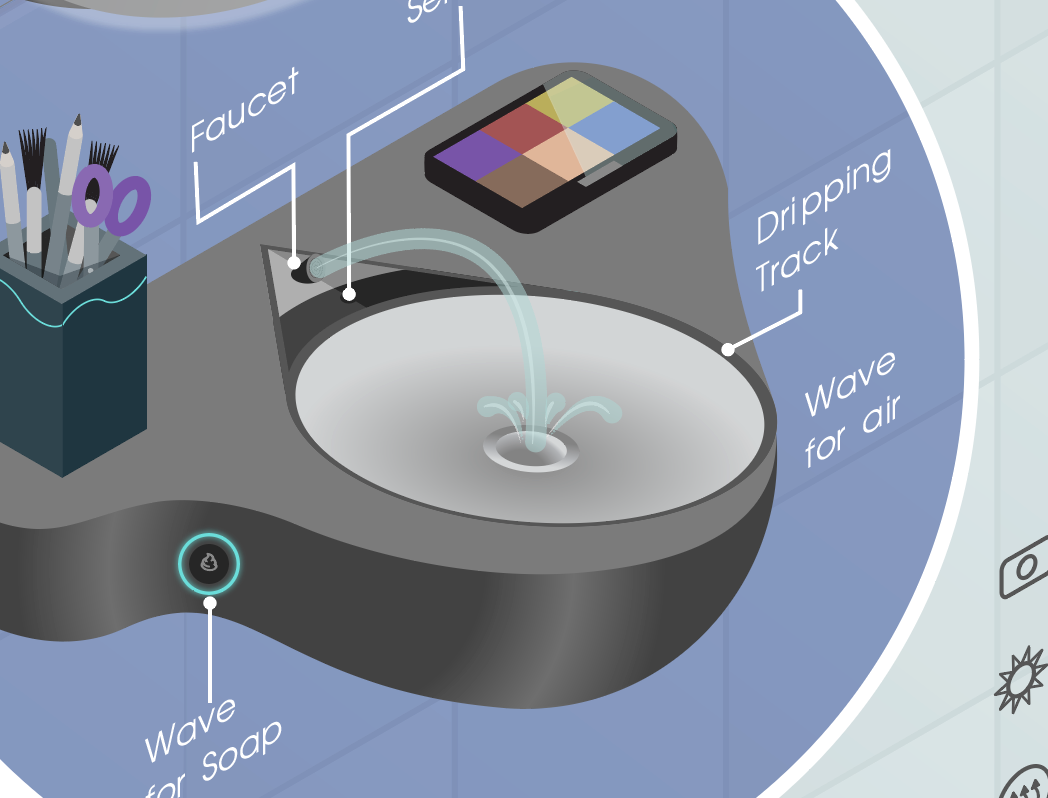
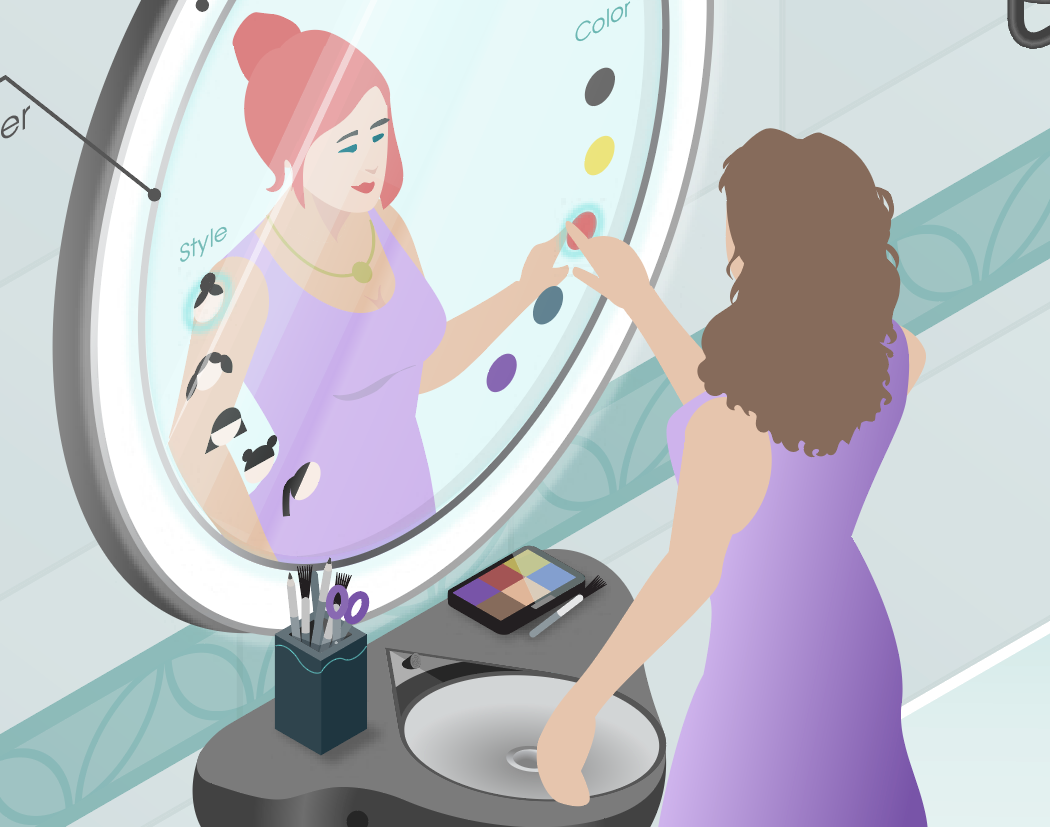
DETAILS
THAKS FOR WATCHING
Firas Ota Bachi © 2021